How dashboard filters work
- Dashboard filters are only available in Workbooks with one or more connected sheets.
- The columns from tables queried in those connected sheets can be added as filters to the dashboard.
- Cells, tables, and charts on a dashboard that use data in columns from connected sheets will update when a filter is applied on the dashboard.
- To apply a dashboard filter, you need to open the dashboard in
View mode(see Applying filters).
Adding and editing filters in Edit mode
Workbook edit permission required
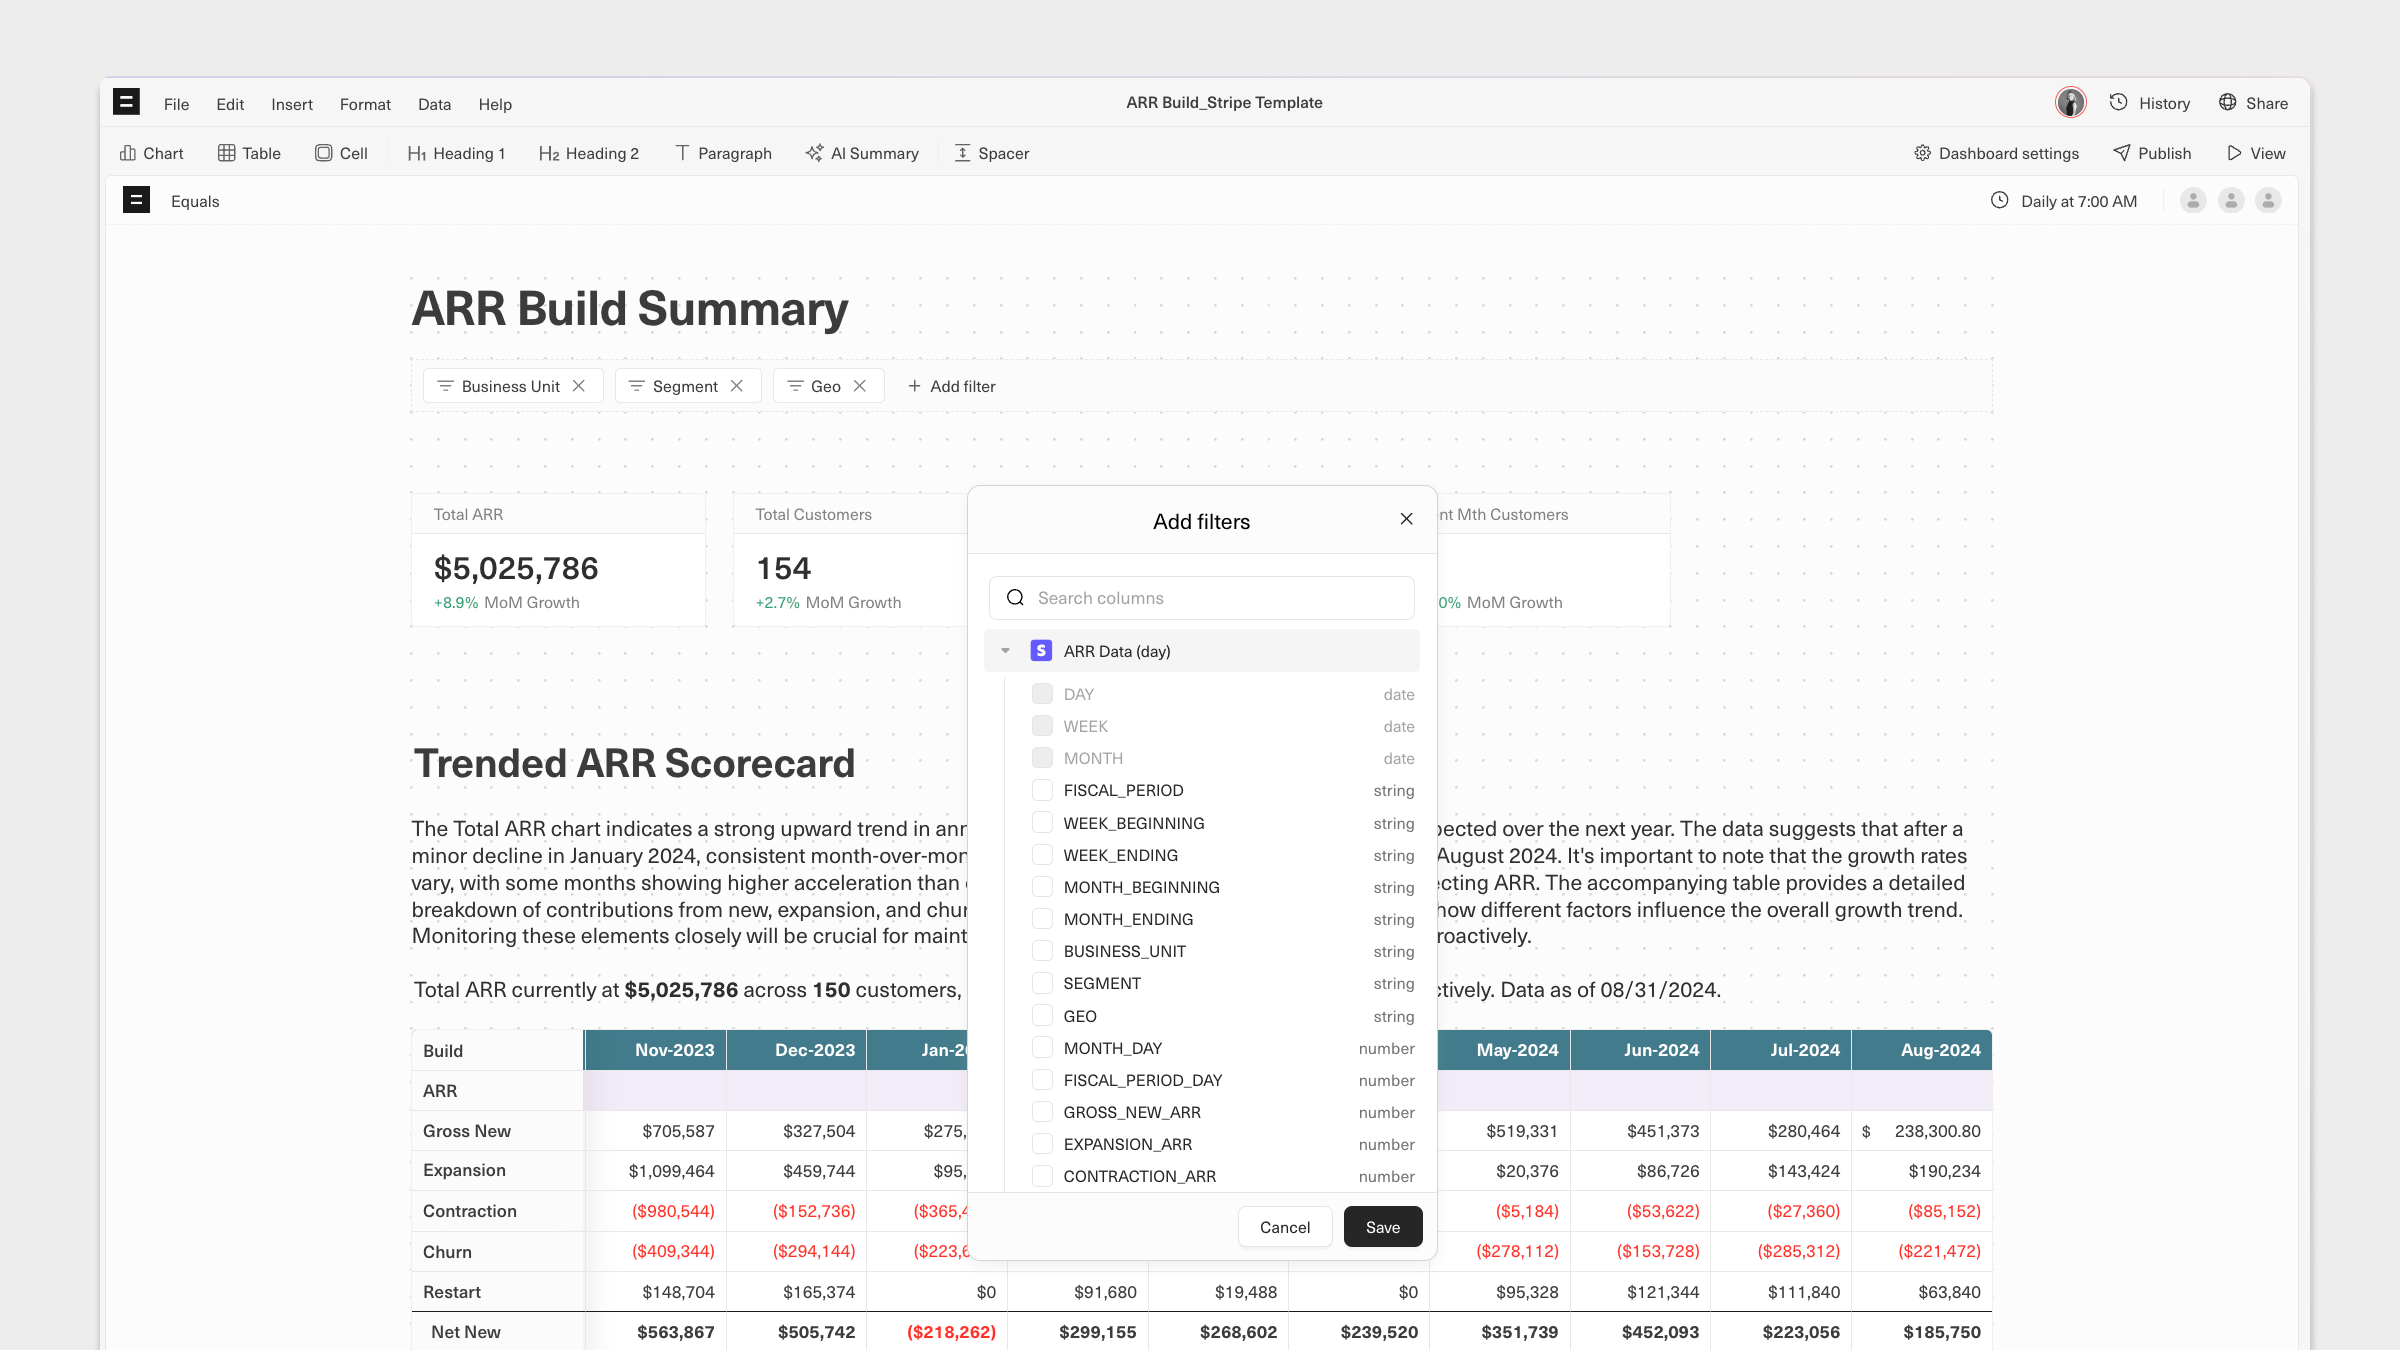
Only users with the permission to edit a Workbook can add filters to its dashboard.Add filters to dashboard beneath the dashboard’s title. This will open a modal displaying all available columns from queried tables grouped by the connected sheet. Select one or more columns and click Save
Renaming and adding more filters
Once a filter has been added, you can rename it by clicking the filter and typing a new name into theFilter name field. You can add additional filters by clicking + Add filter. To remove a filter, click the x icon next to its name.
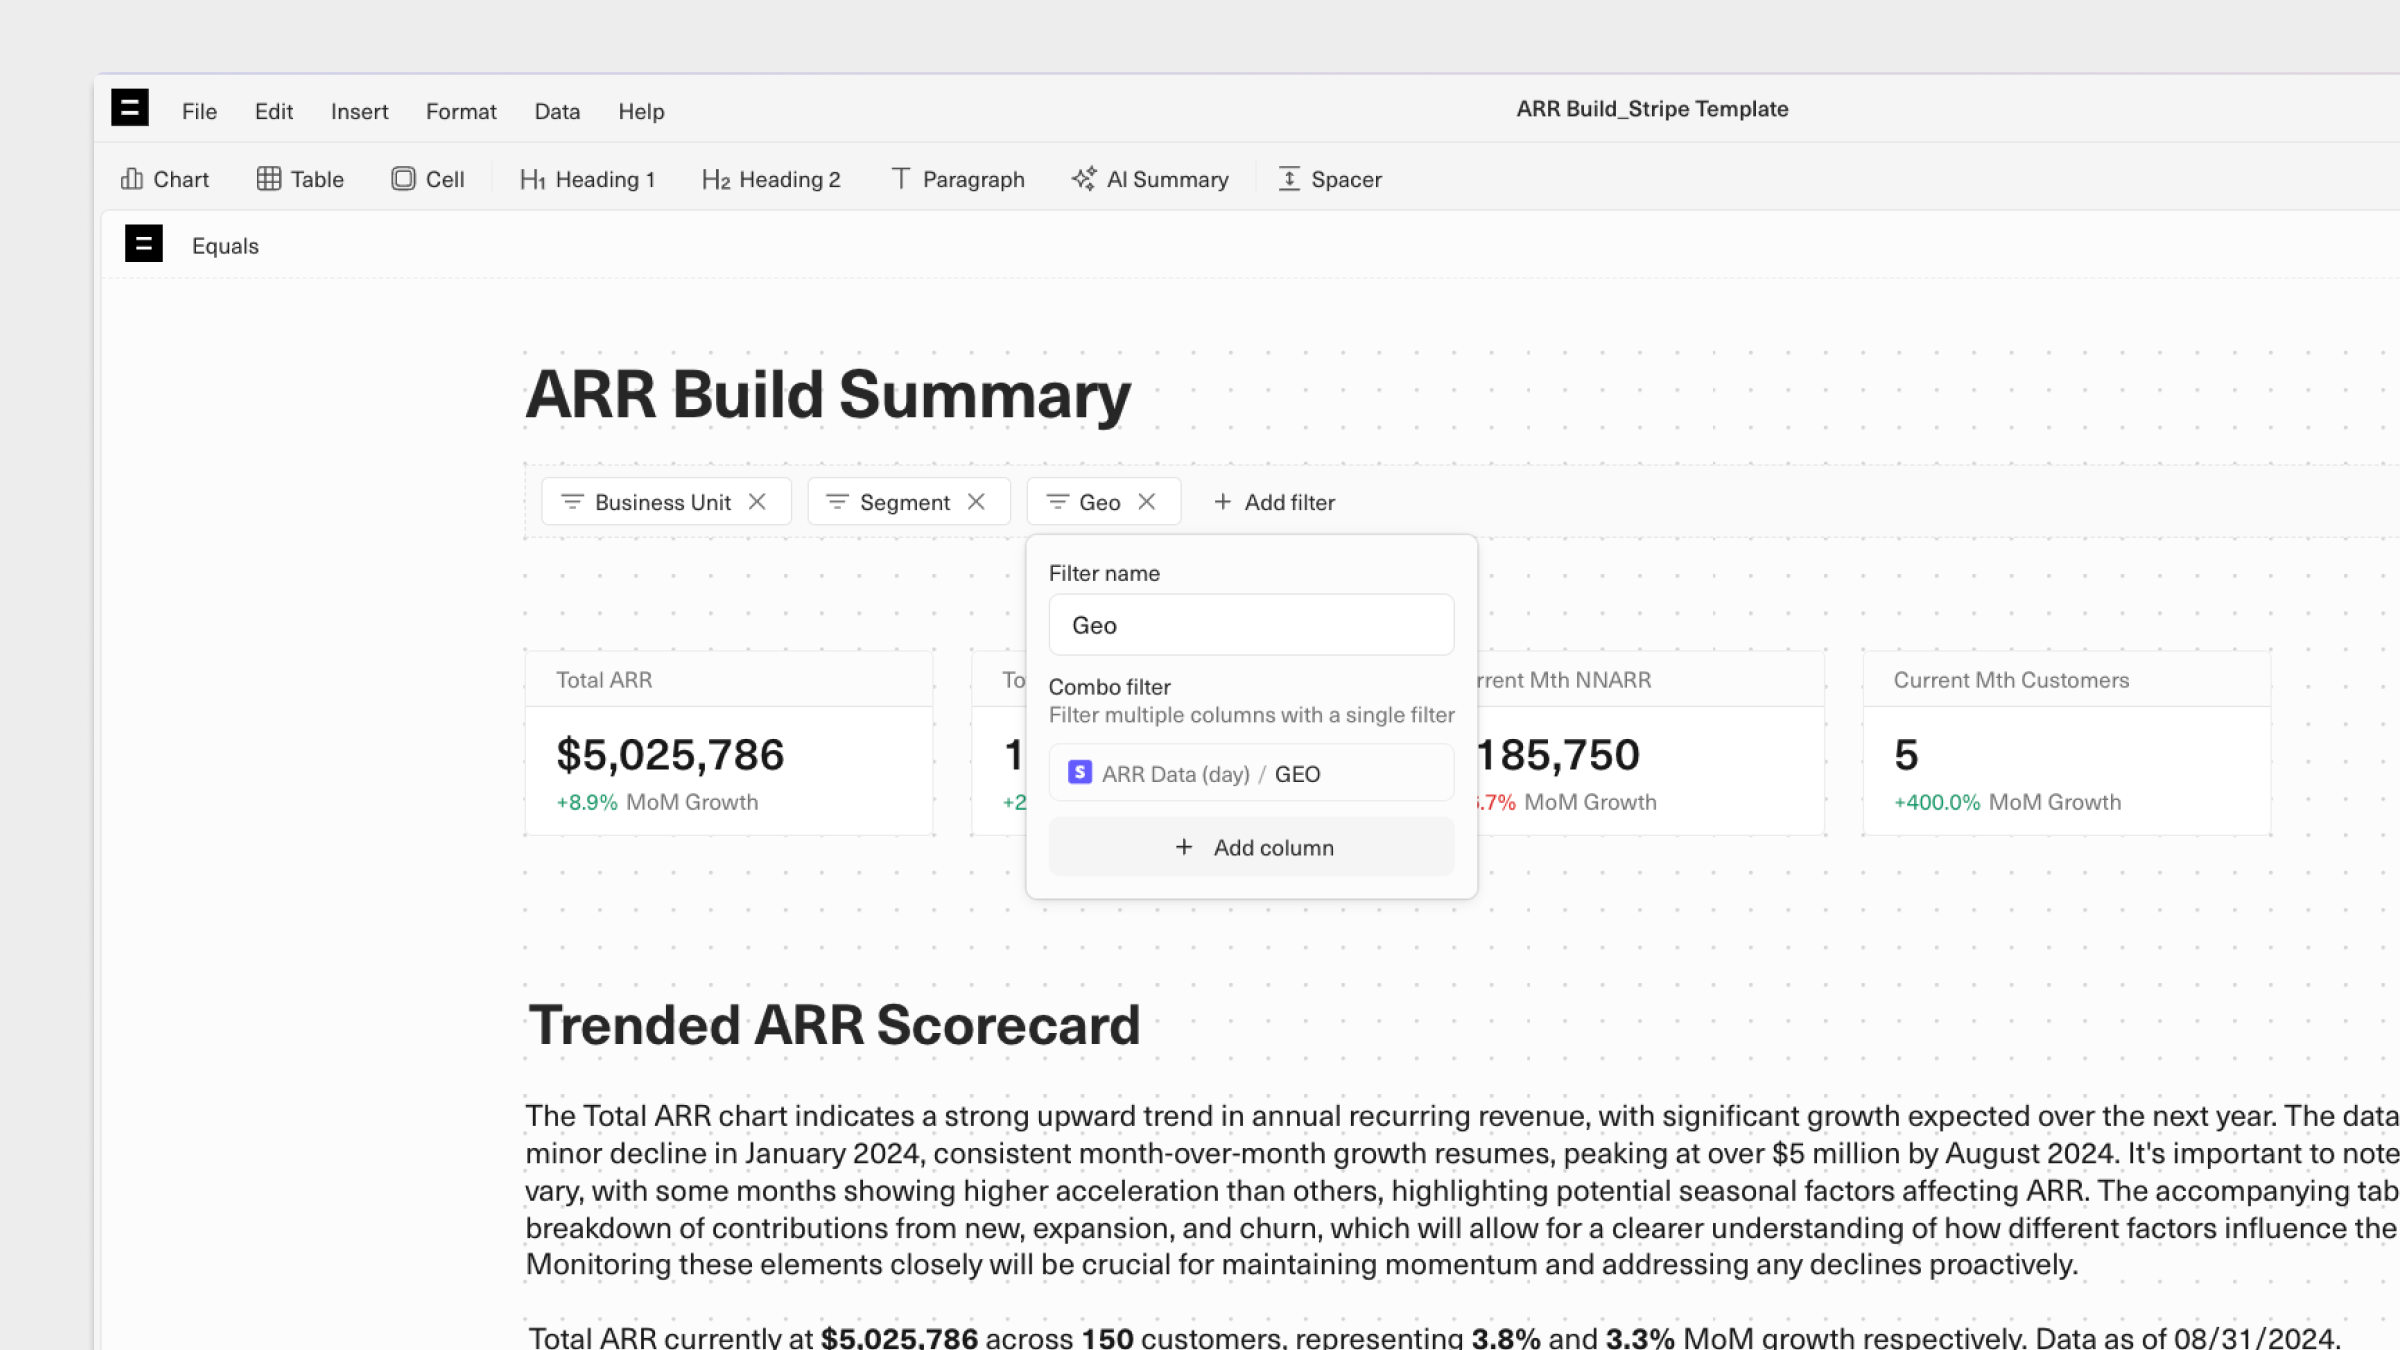
Combining columns into a single filter
You can combine columns with the same data type from other connected sheets into a single filter. This makes it possible to apply one filter that updates all cells, charts, and tables based on the same data in multiple connected sheets. For example, if you have aCustomer ID column on multiple connected sheets, you can add a single Customer ID filter to your dashboard.
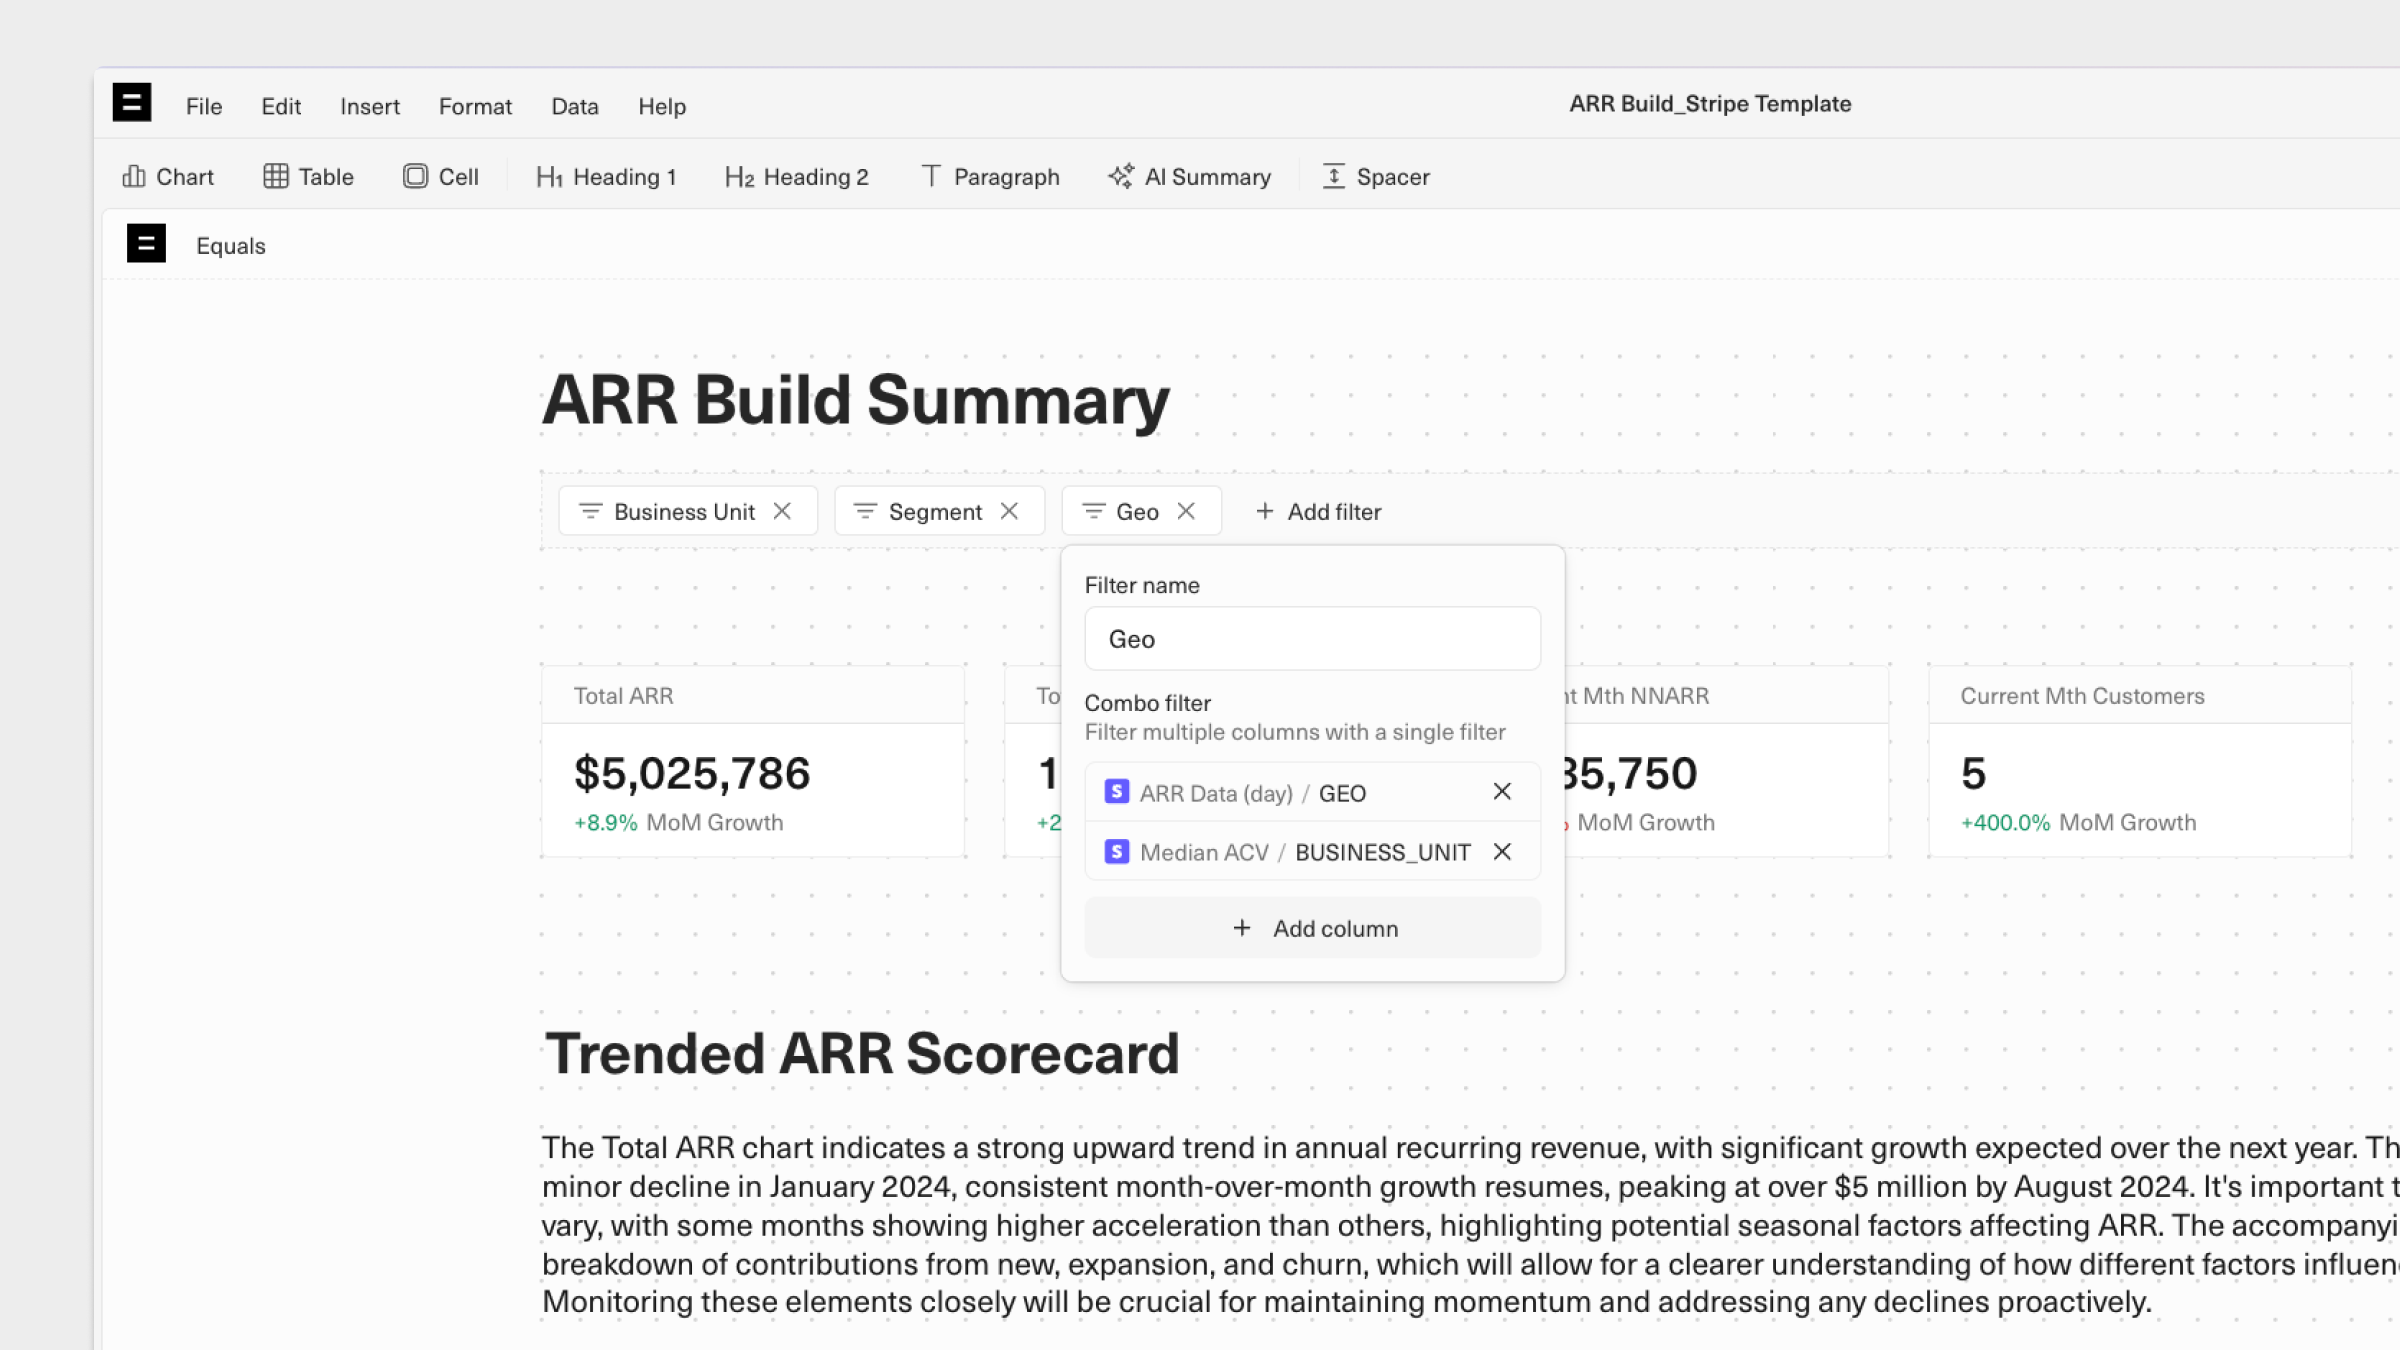
To do this, select an existing filter and click + Add column. This will bring up the column browser, where you can select columns being queried in other connected sheets. Only one column per connected sheer can be combined into a single filter.
To add or remove columns from a combined filter, select the filter and click + Add column or x.
Applying and editing filters in View mode
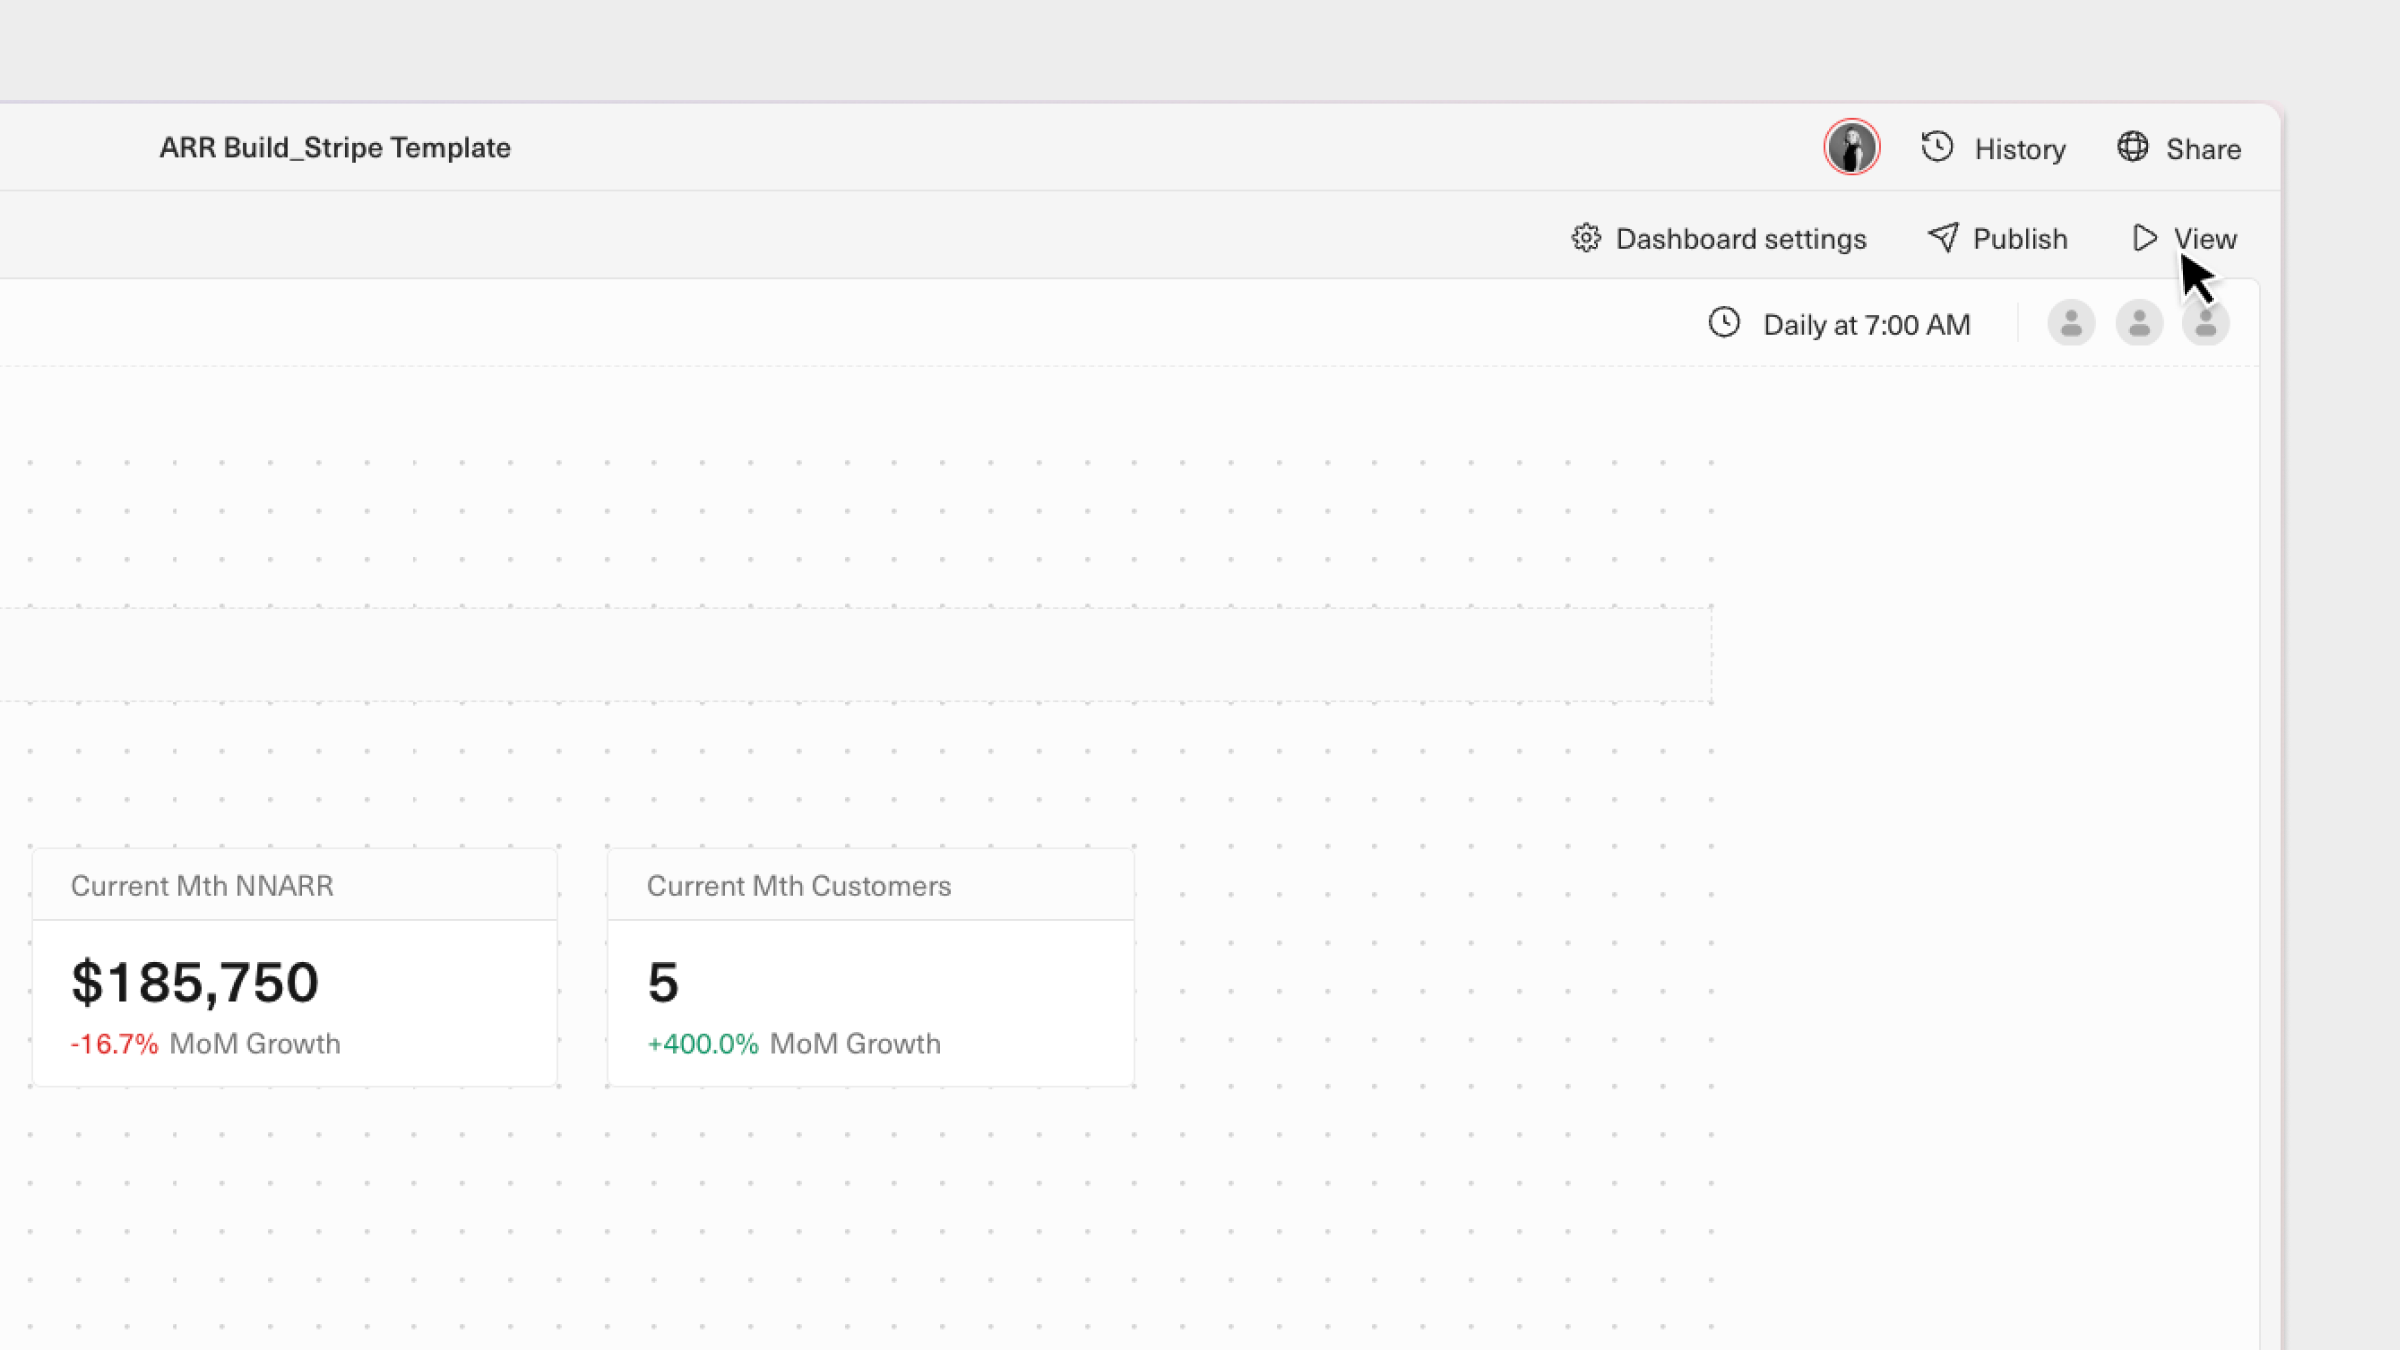
To apply filters, clickView in the top-right of the dashboard. This will open the dashboard in a new tab in View mode.
x icon next to its name. If more than one filter has been applied, you can remove all applied filters at once by clicking Clear filters.
Sharing a dashboard with filters applied
Customizing a dashboard’s URL
You can give a dashboard a cleaner looking link fopr sharing by editing its URL in Dashboard settings.- Open a dashboard in
View mode. - Apply one or more filters.
- Copy the URL from your browser’s toolbar.
- Share that URL with other people.
View mode with the same filters applied. From here, they can edit and apply filters without impacting anyone else’s view.
What’s Next