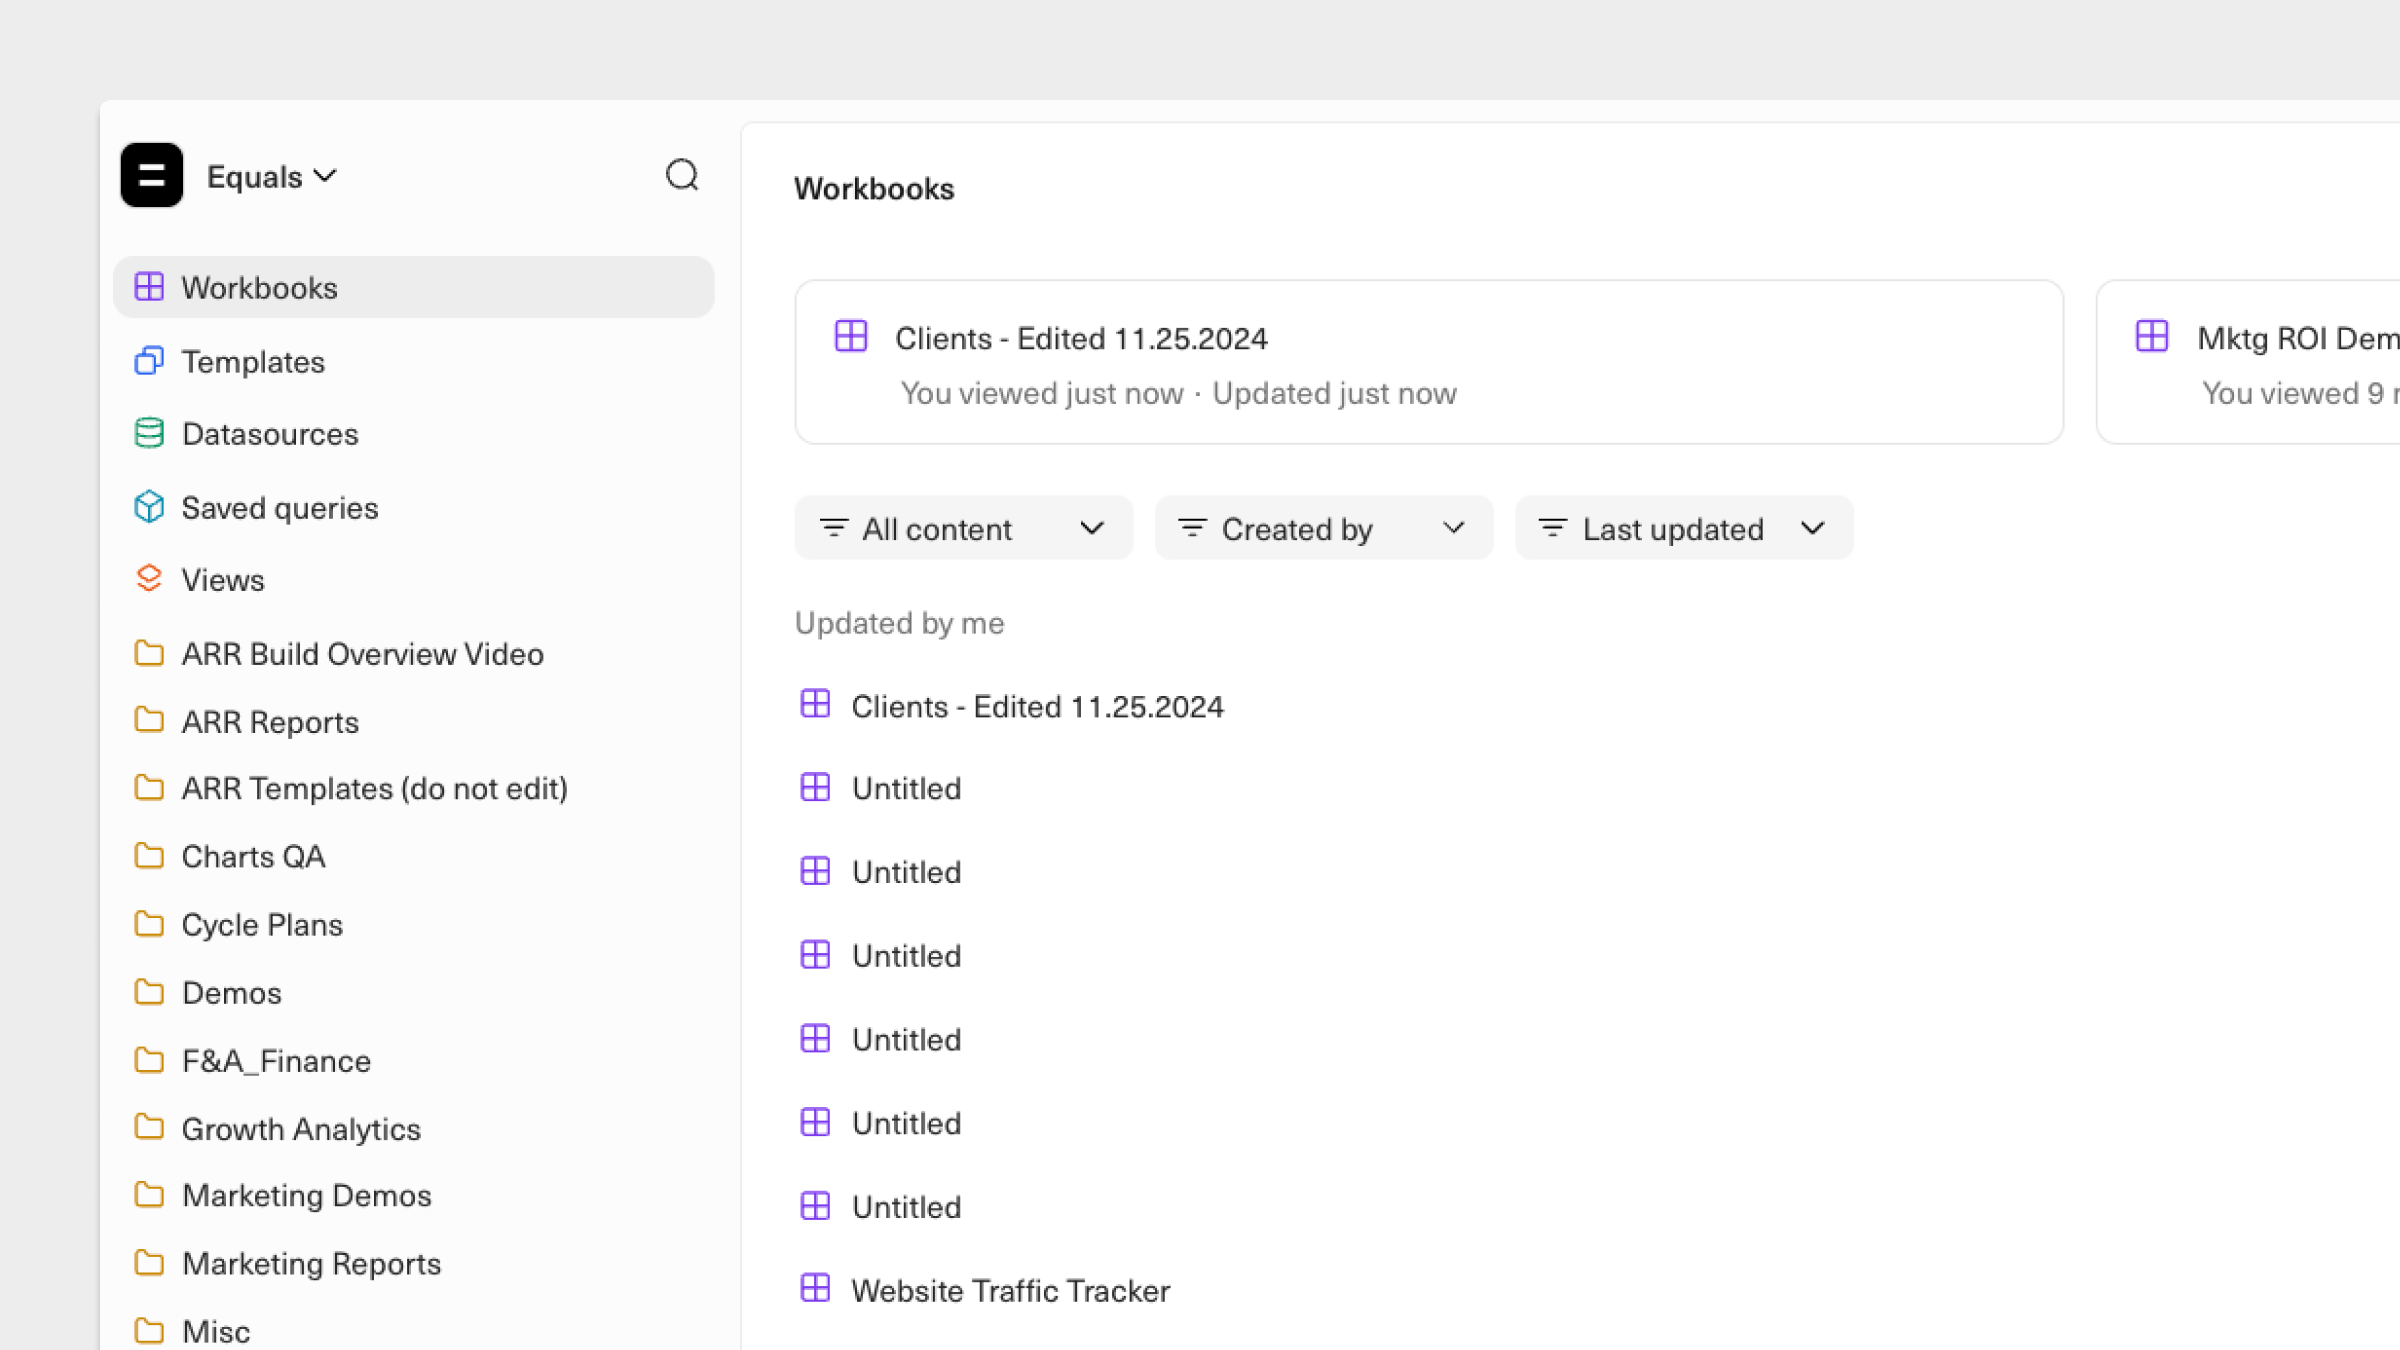
- Your Home shows all of the folders you have access to, and all queries and workbooks you have access to that are not stored within a folder.
- The Workbooks page shows all of the workbooks you created or have access to, whether they are stored in a folder or not.
- The Templates page shows all of the templates you can use to jumpstart your Equals workbook.
- The Saved Queries page shows the saved queries you created or have access to.
- From the Datasources page you can select and configure new datasources for use by your workspace.
- From the Views page you can create and save views of your raw data for easier analysis.
Workspace settings
Click on your workspace logo in the upper left corner and go to Settings > Workspace . From here, you can:- Set a workspace name
- Enable or disable Google Authentication for Gmail accounts
- Set a default timezone for your workspace (this will impact the timing of scheduled queries)
- Set a default location for your workspace (this will impact default date formats and currencies)
- Enable or disable auto-join to automatically add new members to your workspace
- Upload your company logo
- Connect to your company Slack account as a dashboard destination for your entire workspace
- Enable or disable Equals branding on all dashboard distribution emails coming from your workspace
- Enable or disable AI Assist for your entire workspace
Managing workspace members
Enabling auto-join from Settings > Workspace will ensure that all users coming from your domain address will be automatically added to your company’s workspace upon account creation. To invite new users to your workspace manually, go to Settings > Members and add individual workspace members via email. Here you can set different roles and permissions for members of your Equals workspace:- Editor - Has full permissions to modify workbooks shared with them, query from all datasources shared with them, invite others, and change permissions for workspace members.
- Viewer - Can only view but not make changes to specific workbooks shared with them.
- Guest - Not a member of a workspace, but someone invited to view specific workbooks. These users will typically have an email domain different from your company domain and can include investors, advisors, or other external stakeholders.
Resources & tutorials Sharing and permissions

