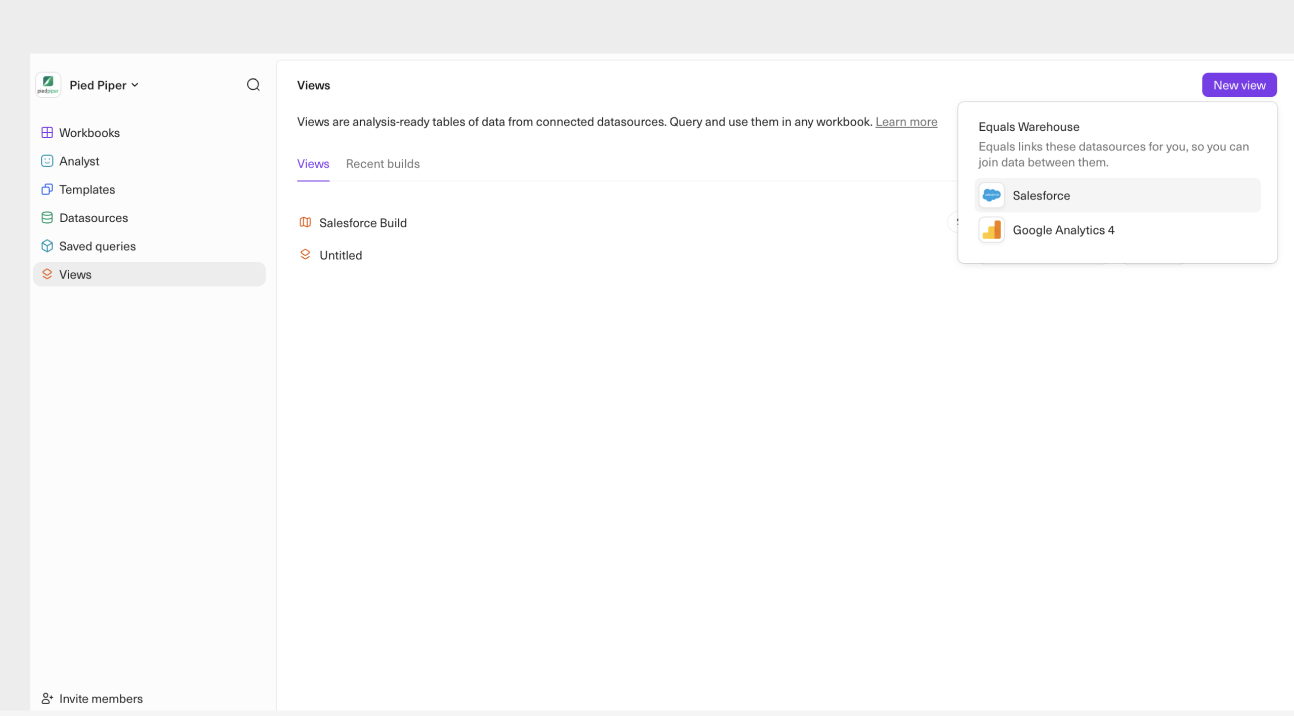
- Go to the Views section in the workspace homepage
- Click New View in the top-right corner (image below)
- Select a data source that has already been configured for your workspace
- Write out your view in the View Editor popup window
- Click Create View
- Follow the same steps outlined above to create a new view.
- When writing your query, reference the table name of another view just as you would any other table in your schema. You can also use the Table Browser to locate and reference the view you want to use.
- At any point while building your view, select Preview to validate the output. (Note: you must preview the view at least once before saving.)
- Once everything looks correct, select Save and Rebuild to save your changes.
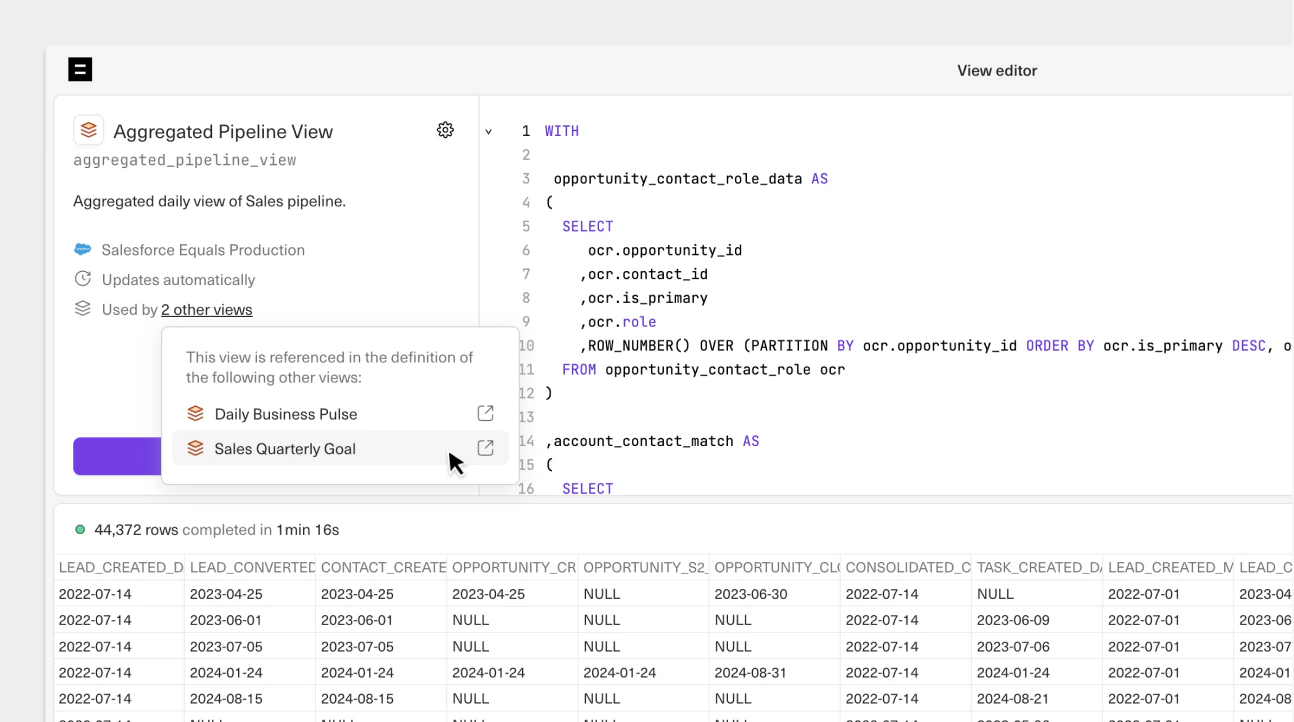
- After the dependent view syncs, it will appear in the “Used By…” section of the referenced view. You can find this in the view details panel on the left side of the view editor as shown below.