- Enabling API connections in NetSuite
- Identifying your Account ID
- Creating a Client ID and Client Secret, and
- Creating a Role and User to obtain your Token ID and Token Secret.
Enabling API connections in NetSuite
To begin, log in to NetSuite and select Setup from the toolbar, then Company > Enabled Features. Here, you’ll click on the SuiteCloud tab. Under SuiteTalk (Web Services), enable SOAP Web Services and REST Web Services. Under Manage Authentication, enable Token-based authentication. Your setup should look like the image below: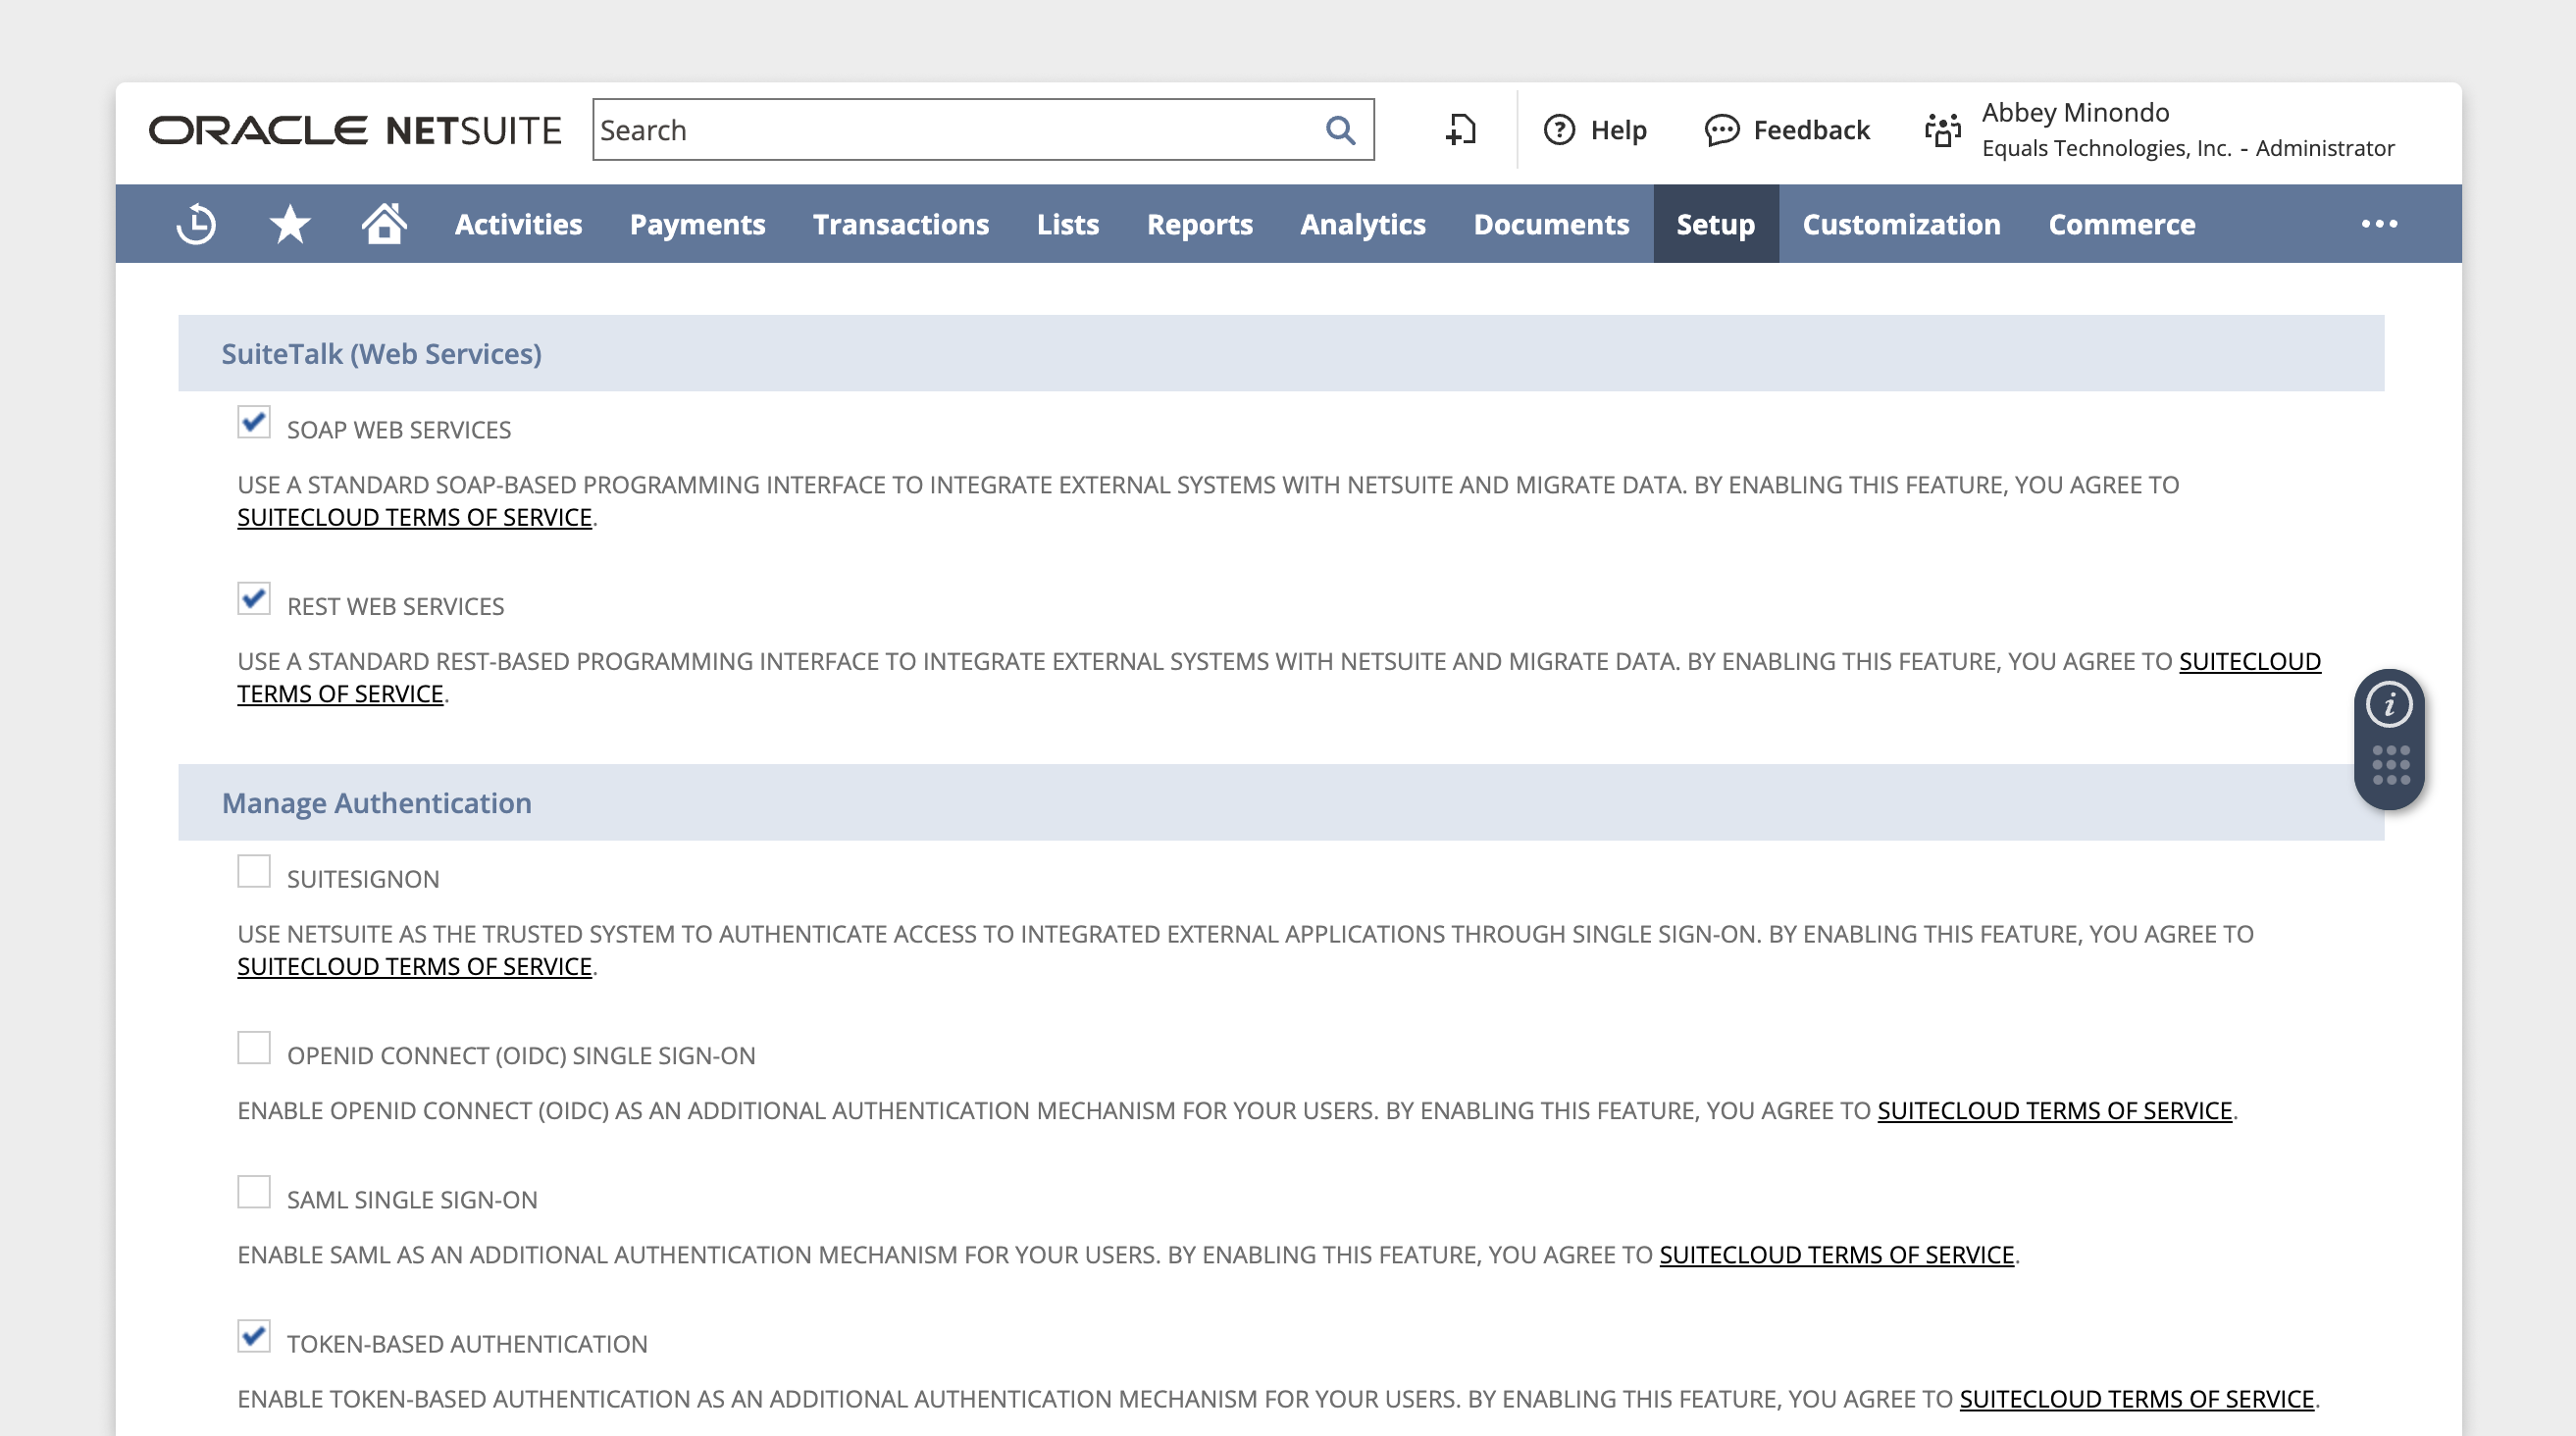
Finding your Account ID
Your Account ID can be found in your NetSuite URL, which should look something like this: https://1234567.app.netsuite.com/app. In this example, your Account ID is the first string (1234567).
You can also find your Account ID by navigating to Setup > Company > Company Information. Here, you’ll see your Account ID listed along with other company details.
Obtaining your NetSuite Client ID and Client Secret key
Once you have logged into your NetSuite account, navigate to Setup > Integration > Manage Integrations > New. This will bring you to a new screen where you can name your integration. Under the Authentication header, check Token-based authentication and uncheck TBA: Authorization Flow. Under the OAuth 2.0 header, uncheck Authorization Code Grant. Your final configuration should look like this: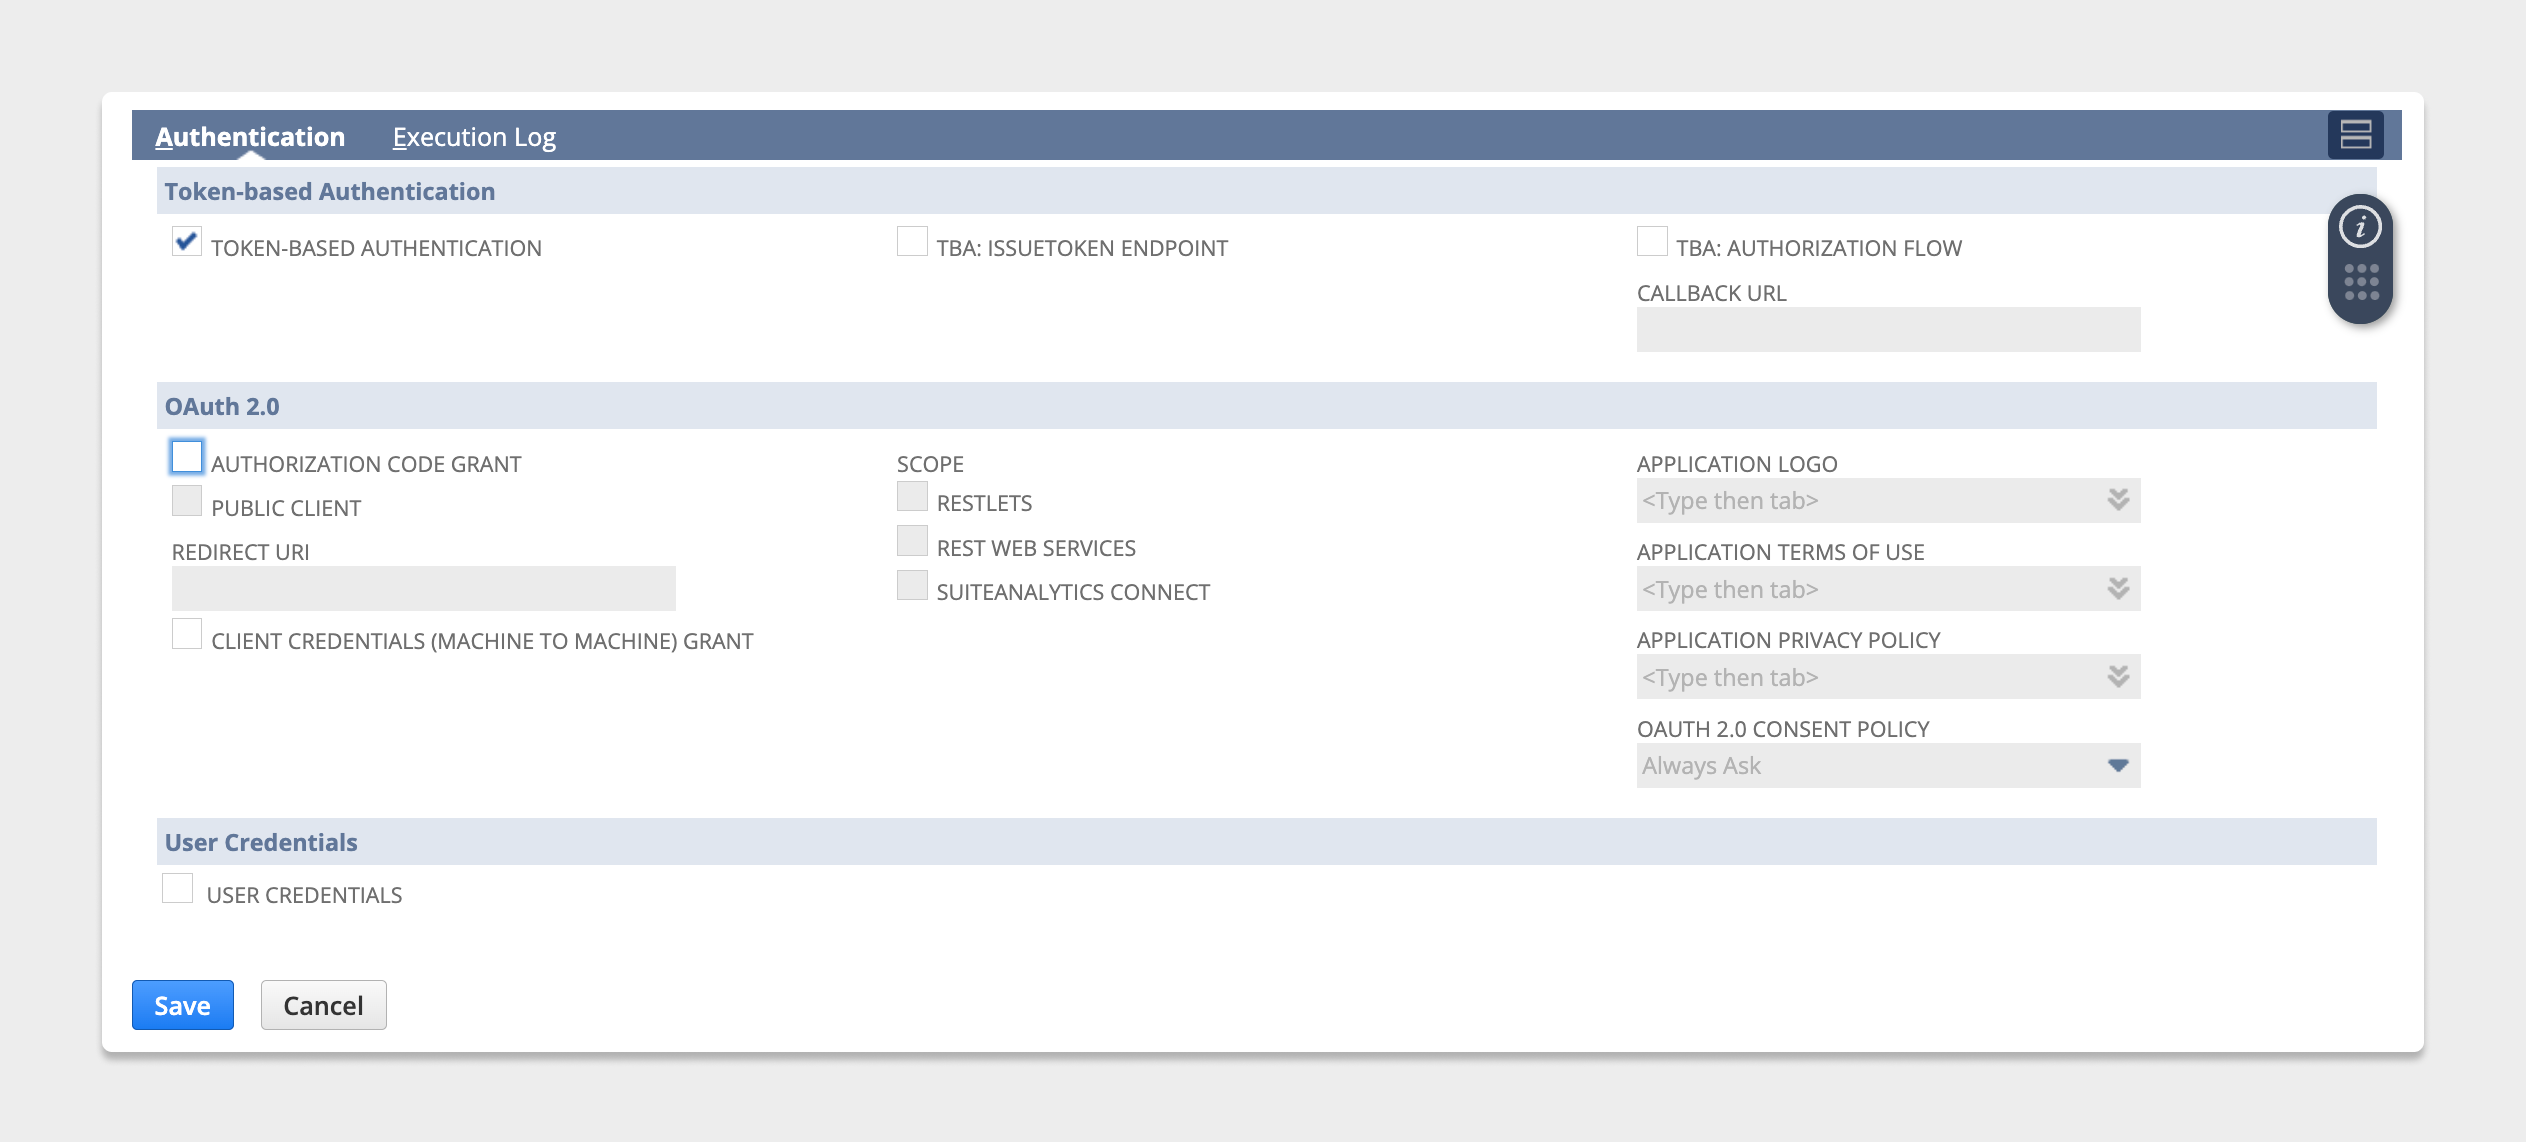
Creating a Role
Navigate to Setup -> Users/Roles -> Manage Roles. Next to your user’s role listed, click Customize. This will create a copy of your role, and you’ll want to give this role a name (ex:Equals Datasource). Ensure that you add the following permissions necessary for API access:
- Log in using Access Tokens
- REST Web Services
- SOAP Web Services.
Creating a User
Navigate to Lists > Employees > Employees > New. For the employee name, you’ll want to useEquals Datasource or something similarly recognizable.
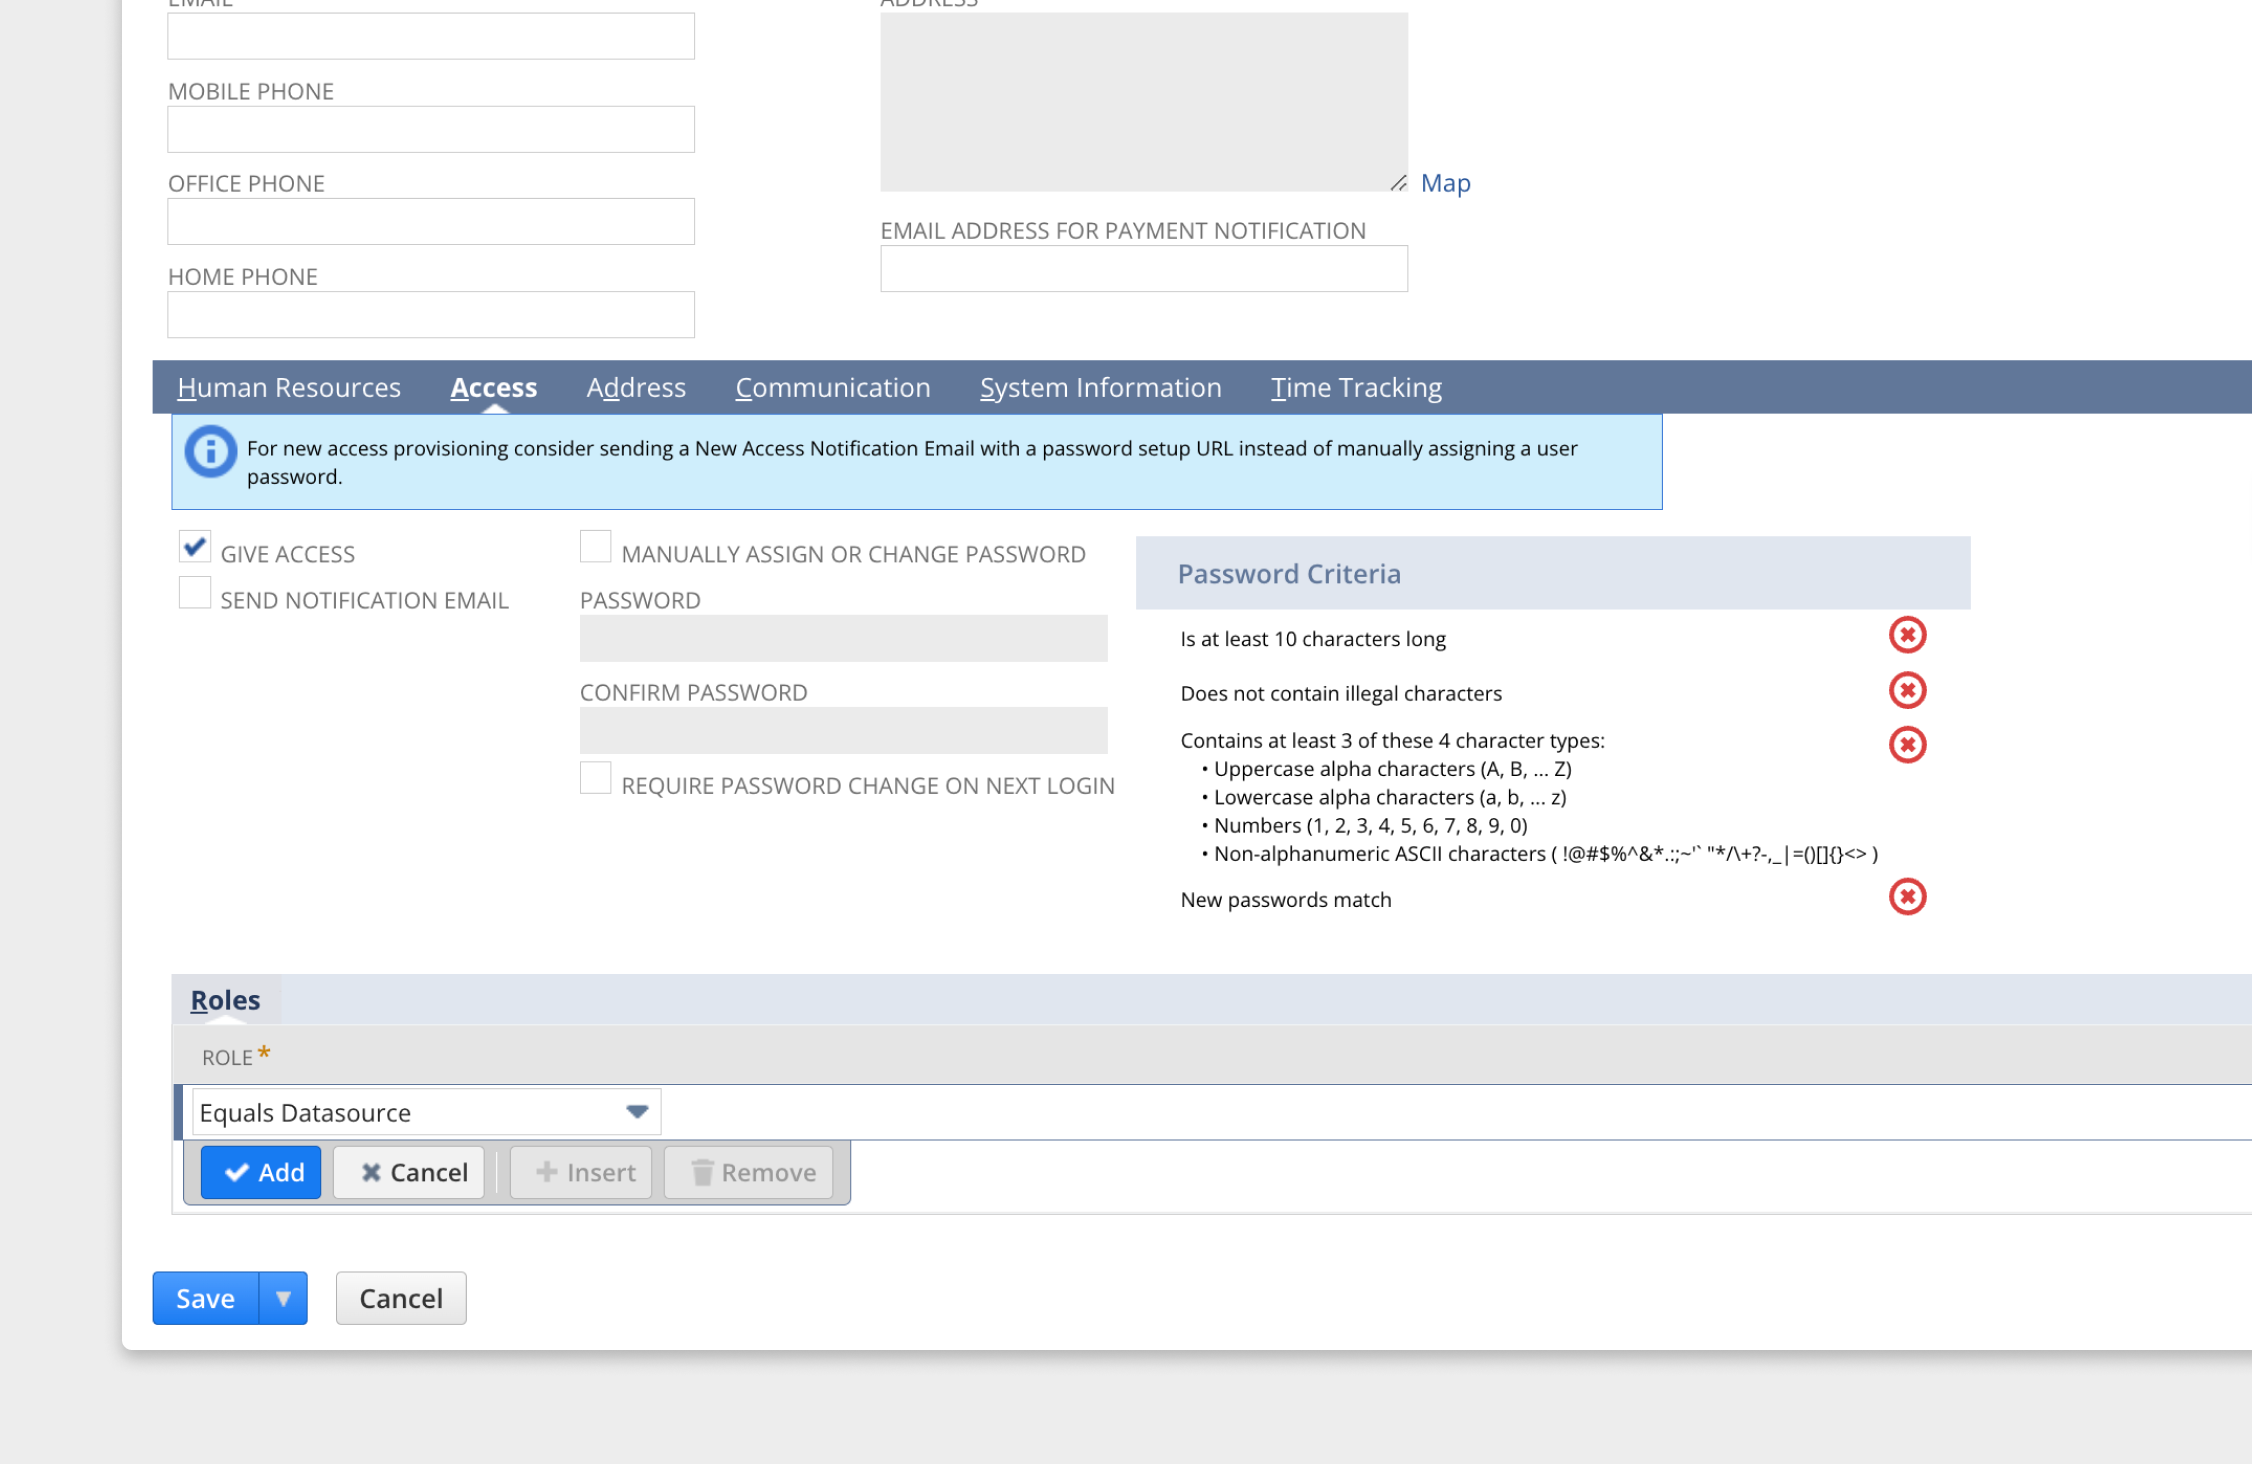
Finally, under the Access section, select Give access. Still under Access, in the Roles section, add the role created above. Your setup should look like this:
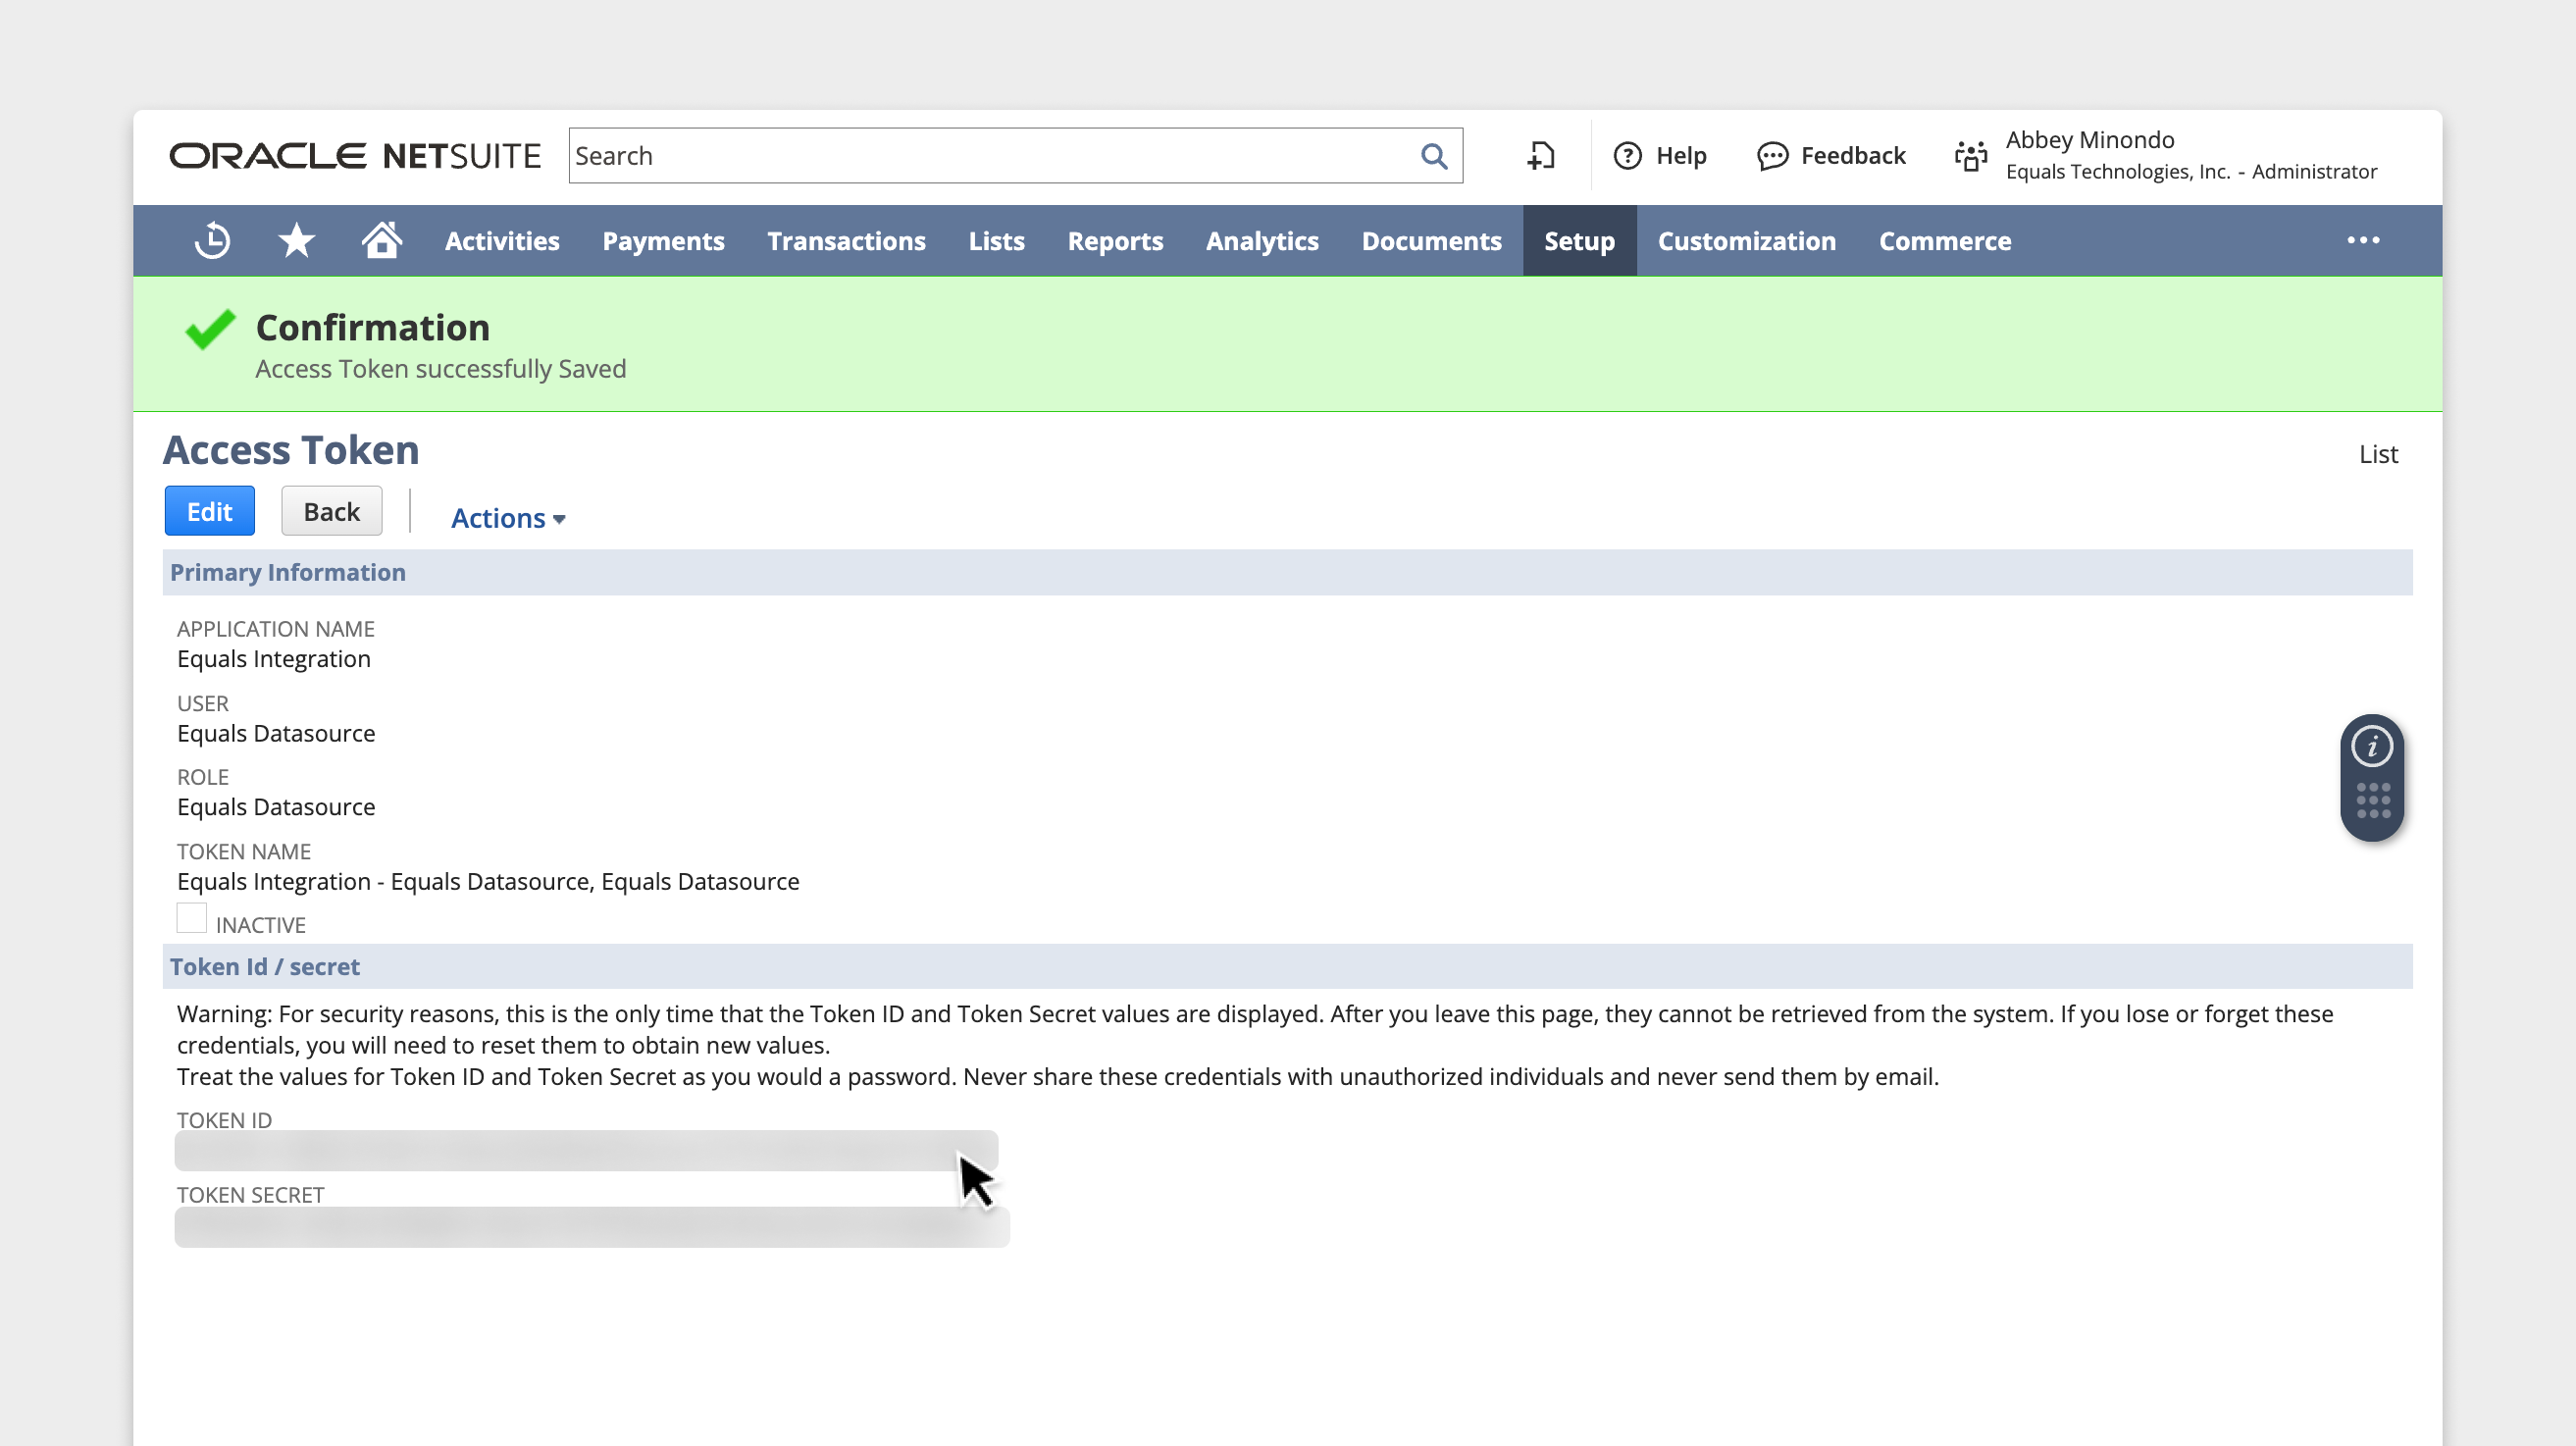
Creating a Token ID and Token Secret
Navigate to Setup > Users/Roles > Access Tokens > New. For Application Name select the Integration that was created above. For User, select the User that was created above. For Role, select the Role above that was assigned to the user. Give the token a name (ie.Equals Datasource Access Token).
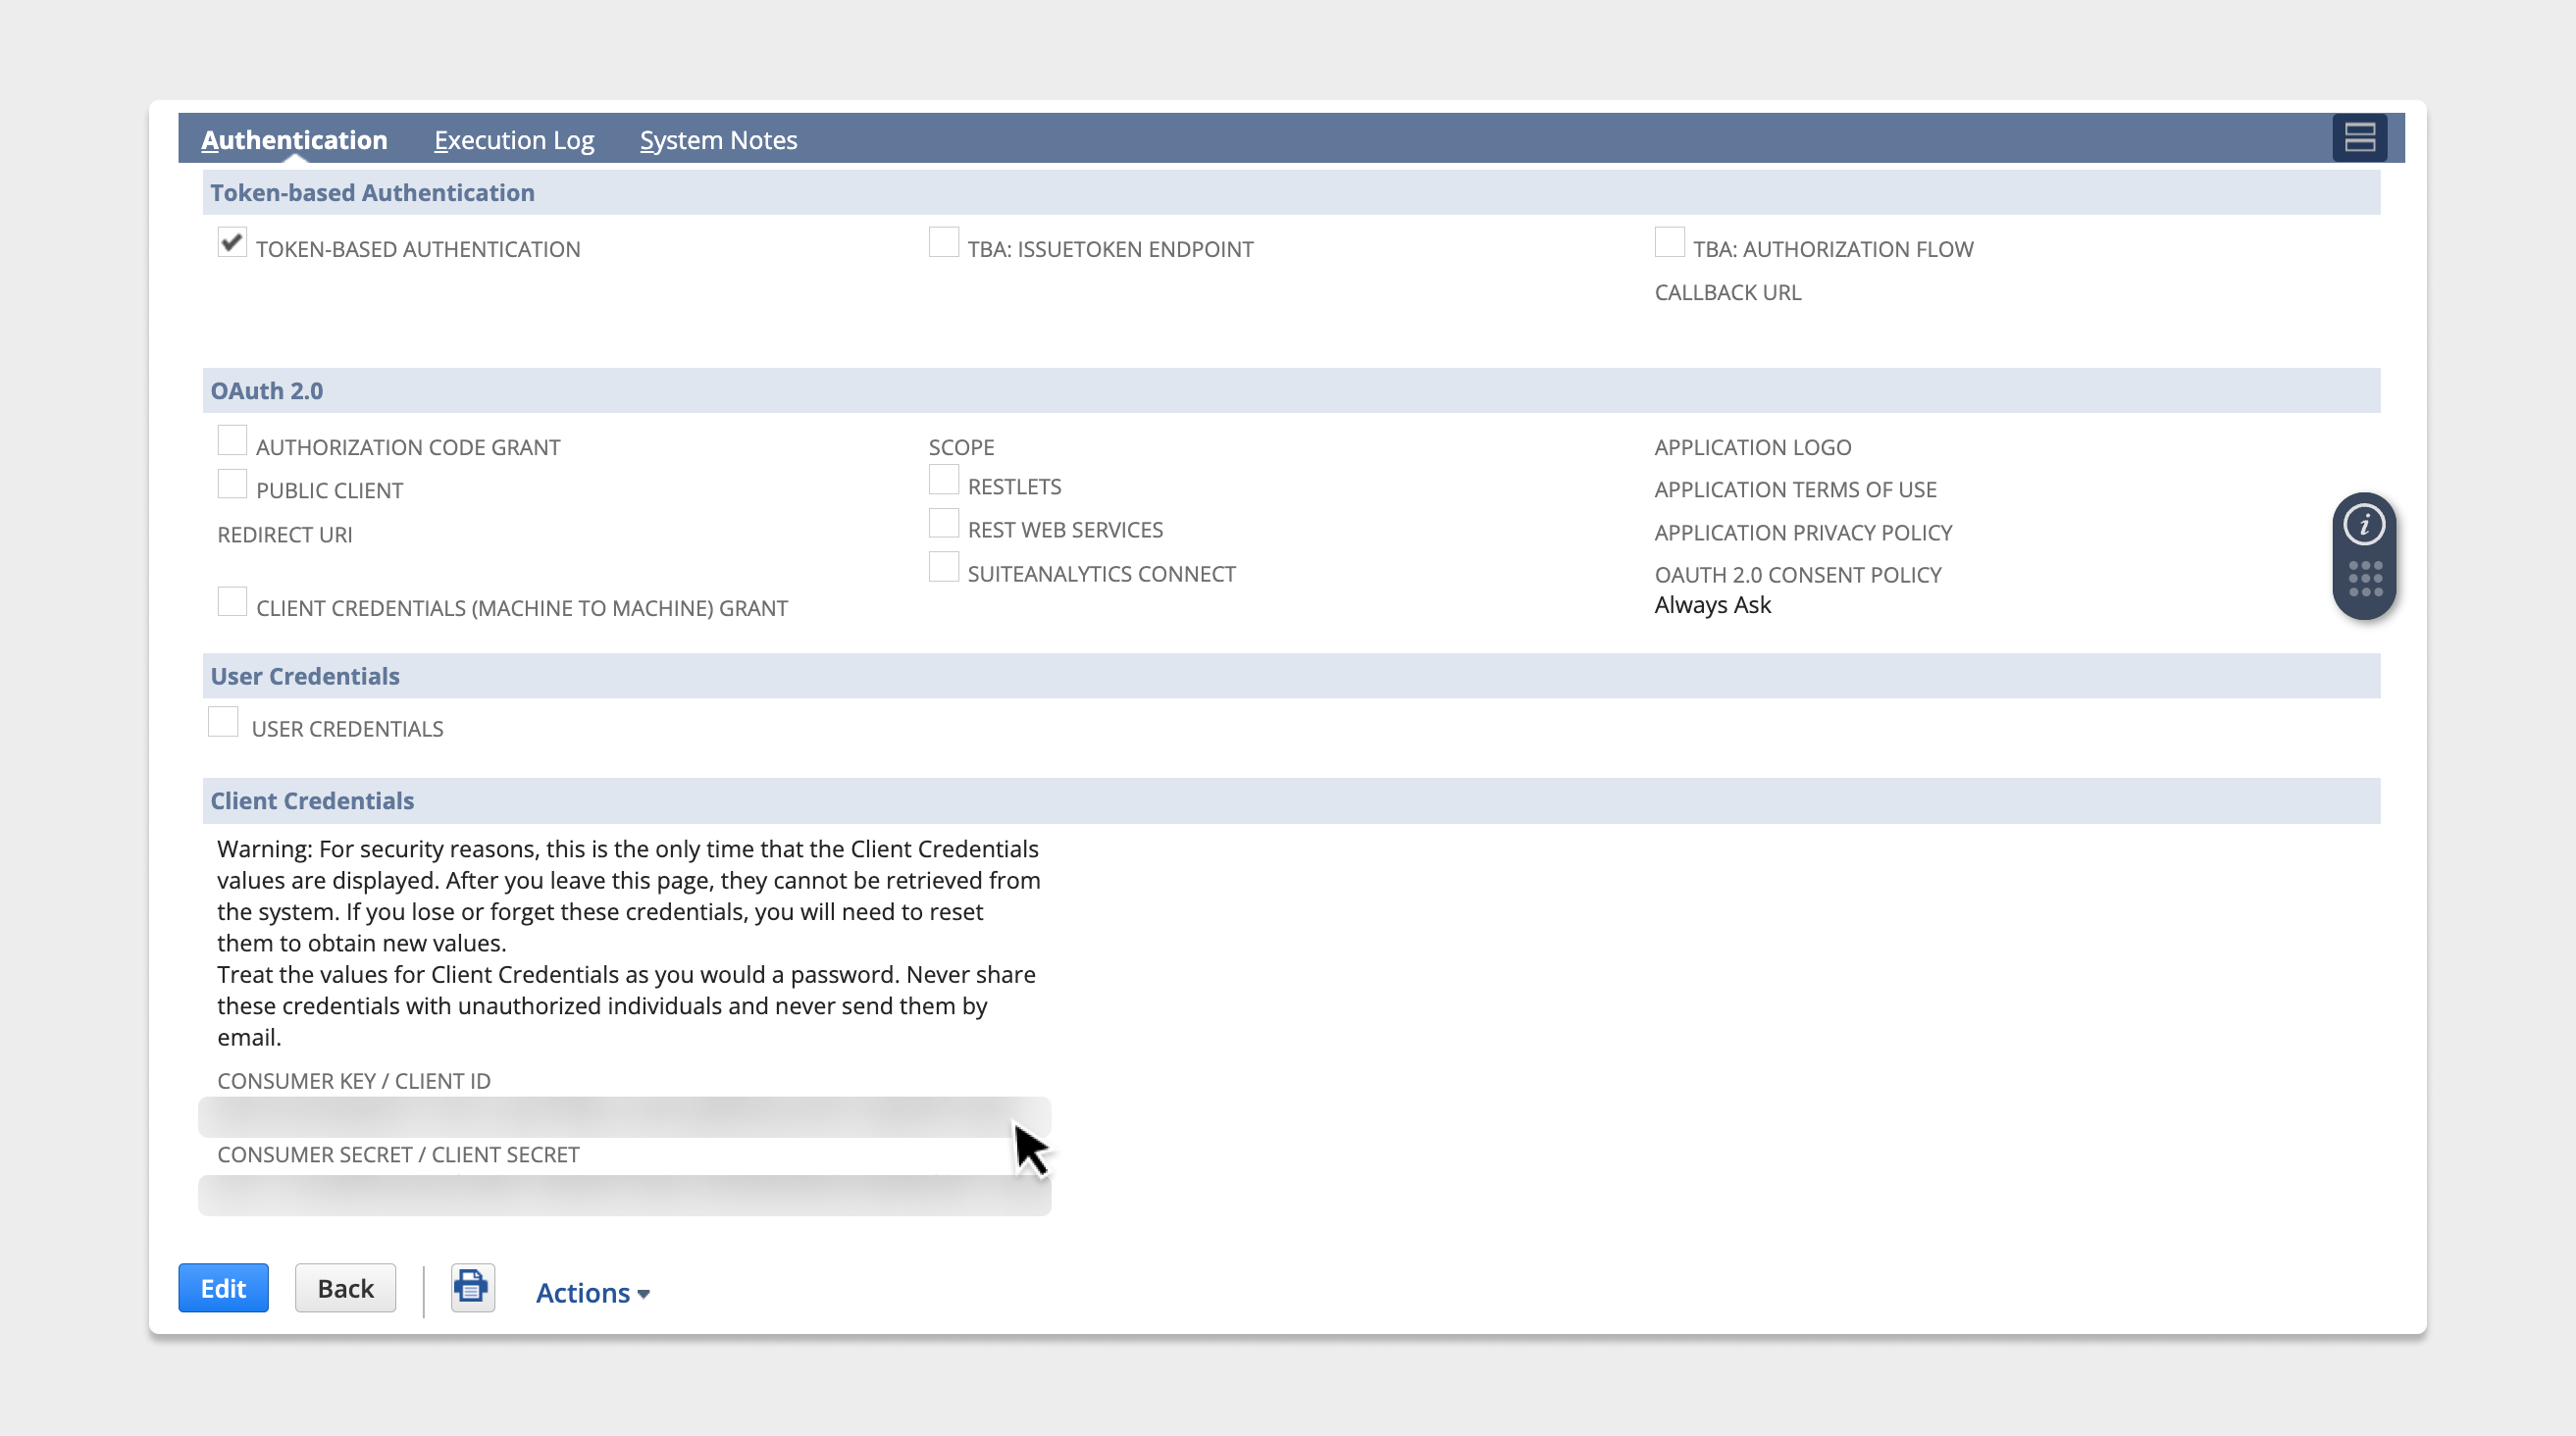
Once you click Save, you’ll see the tokens revealed below. Record the Token ID and Token Secret (they won’t be shown again and these are the last details you’ll need to enter into Equals).
Setting up Reports
After you’ve successfully connected to NetSuite, click on New next to the Reports listing. This will walk you through the creation of a Saved Search in NetSuite that will set up a process by which Equals ingests CSV files sent on a scheduled cadence by NetSuite, so that you receive this data in your spreadsheet seamlessly.Google Sheets Plaid